
Organizing Your Home While On Vacation Was Fun? Said no one ever…
July 26, 2013
Homework Station, DIY For Back To School
August 2, 2013
 Do You Enjoy Crafts? Let me introduce you to my magic box. That’s right, MAGIC!!!
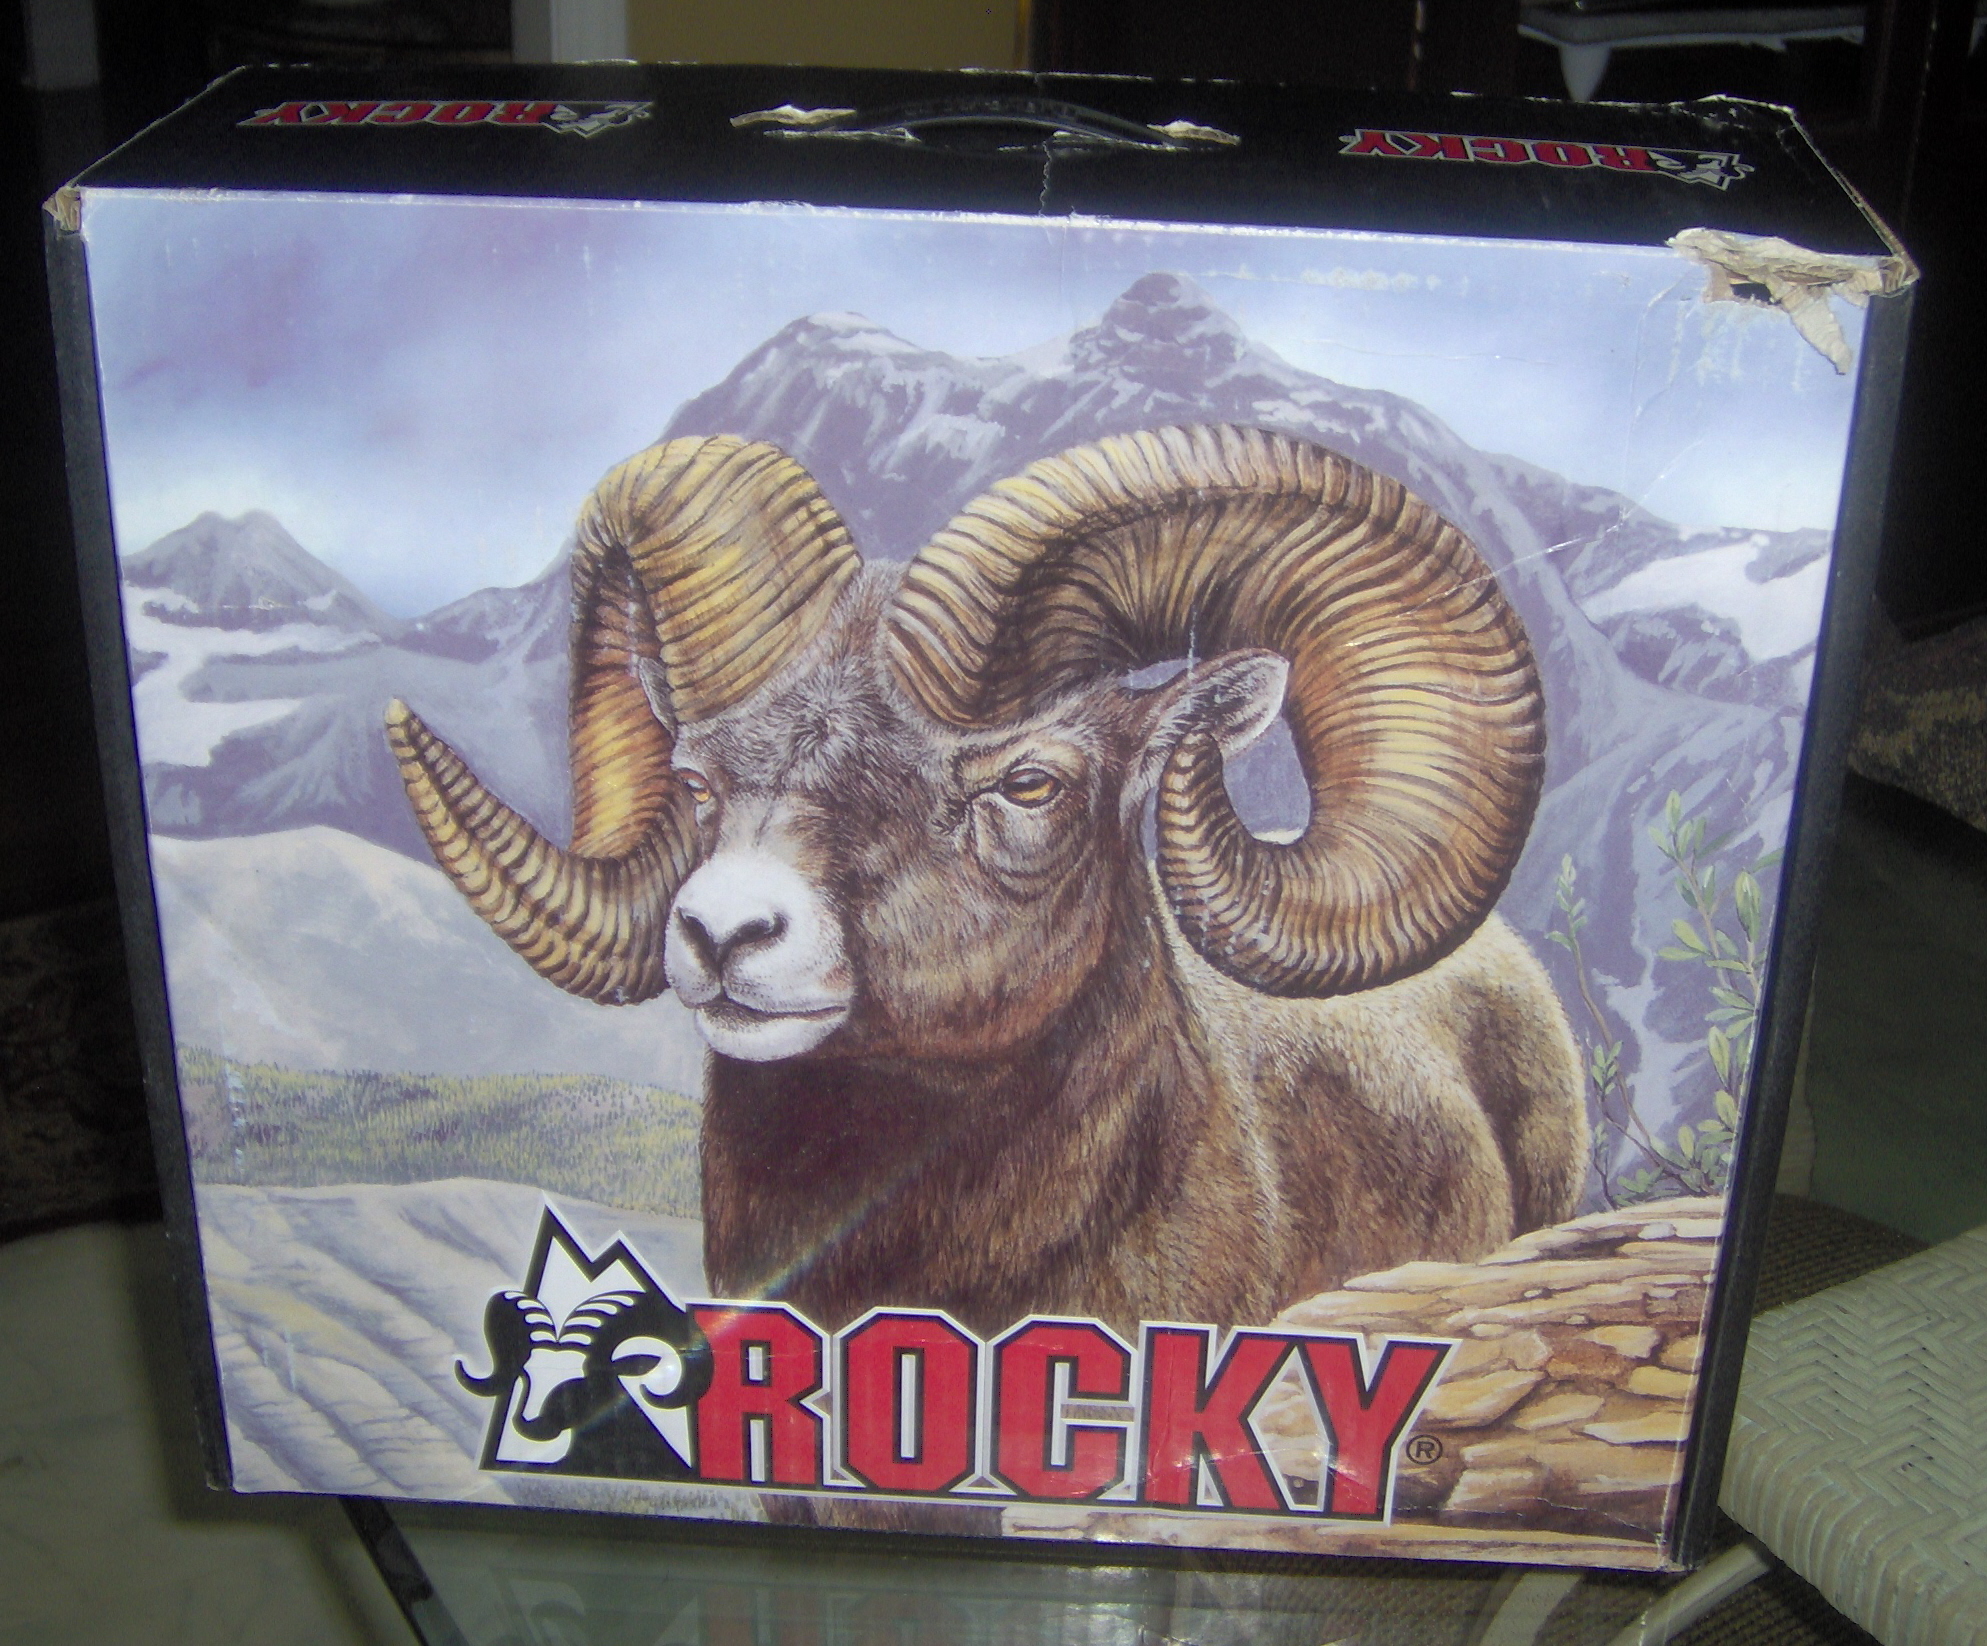
Tell me what you see in the picture to the left. Just a boot box? Hmmm, look closer. Especially if you enjoy doing crafts and see what is so different about this boot box.
 Here is another clue. Can you see it yet? When my husband found these boots at a yard sale, he didn’t see it either and almost threw the magic box away. I get teary eyed just thinking about this ending up in the trash.
Don’t cheat!!!! No scrolling down yet! It will ruin the magic!!!!
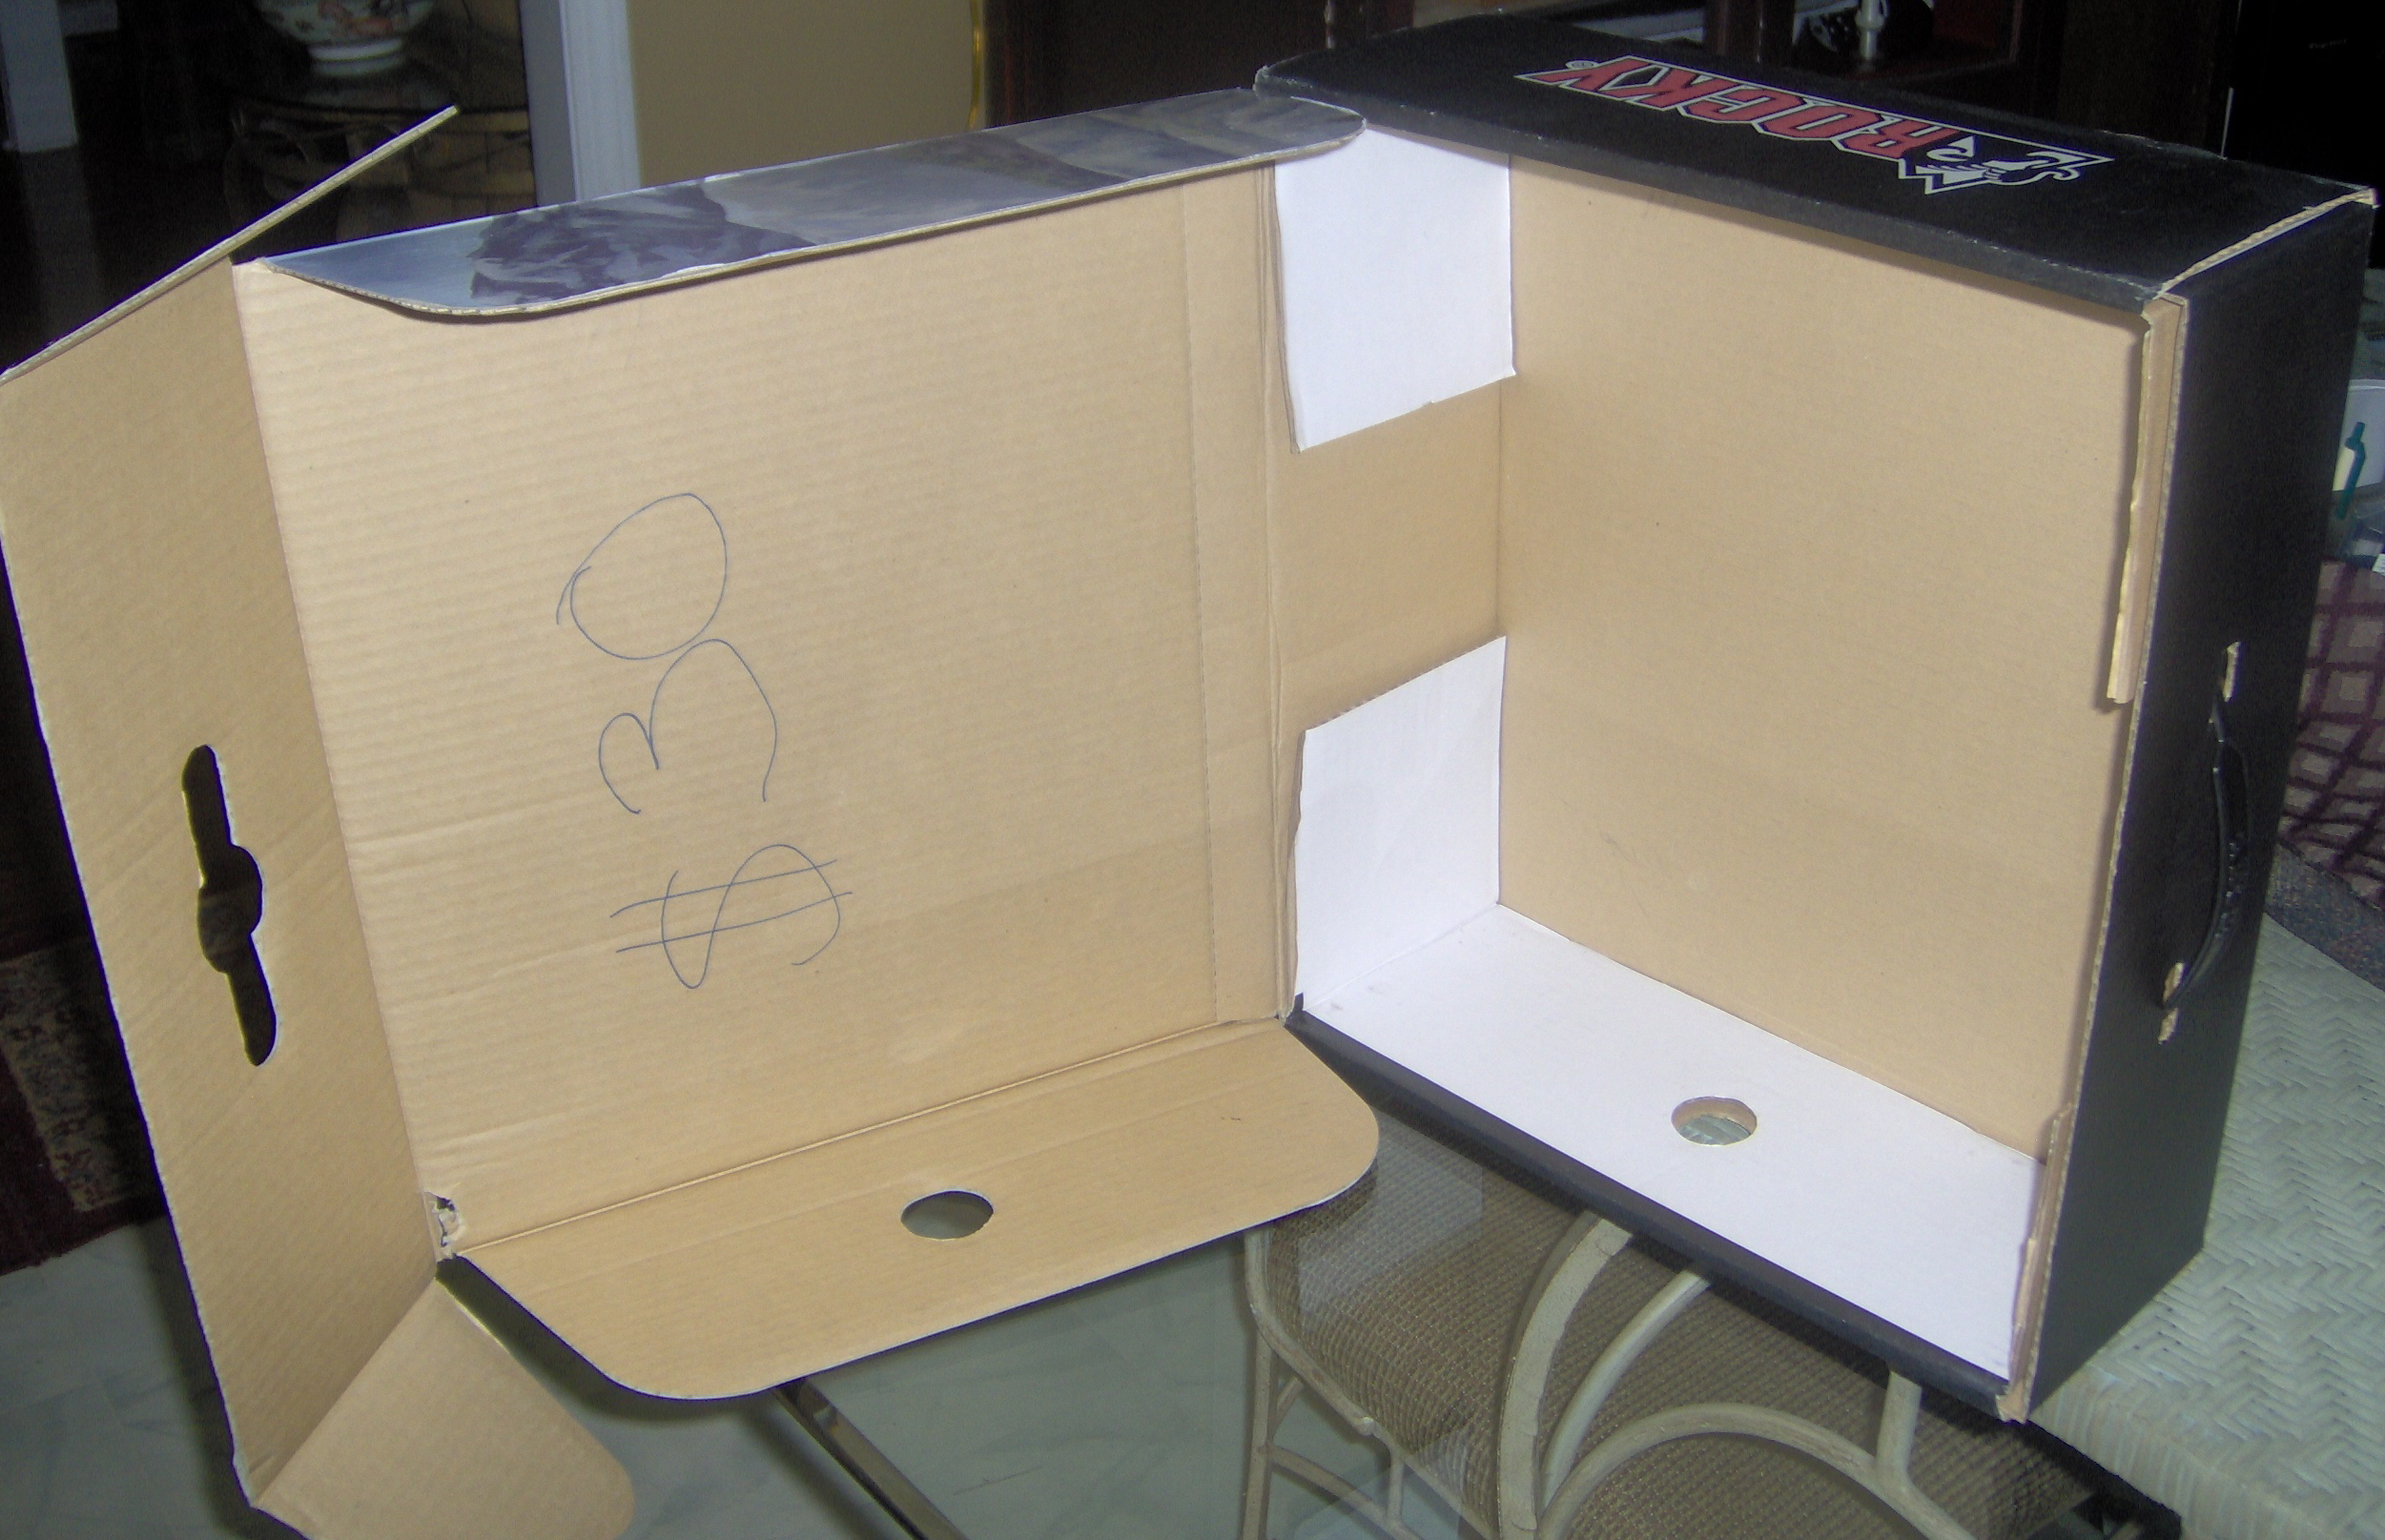
As soon as I rescued this magic box from my no clutter husband, he didn’t understand. I told him that this box was special. Can you see it yet?
What makes this so unusual? If you are a crafter you may see it, but the eyes of people that do not enjoy crafts will find this harder to see. I love all kinds of crafts. Especially magic boxes.
Are you ready to see the MAGIC?

For starters, I upholstered the outside of the box, in this cute girly seersucker.
Why would I do this? It is just an old box that looks cute on the outside now. Your scratching your head now and thinking, “Not so magical to me.” It’s just a cute box with a handle.
Ahhhh, but I tell you it is still magical.
My Barbie Dream Closet
I hope you never see a simple old box in he same way ever again. Always think outside of the box and you just might end up with something like this:
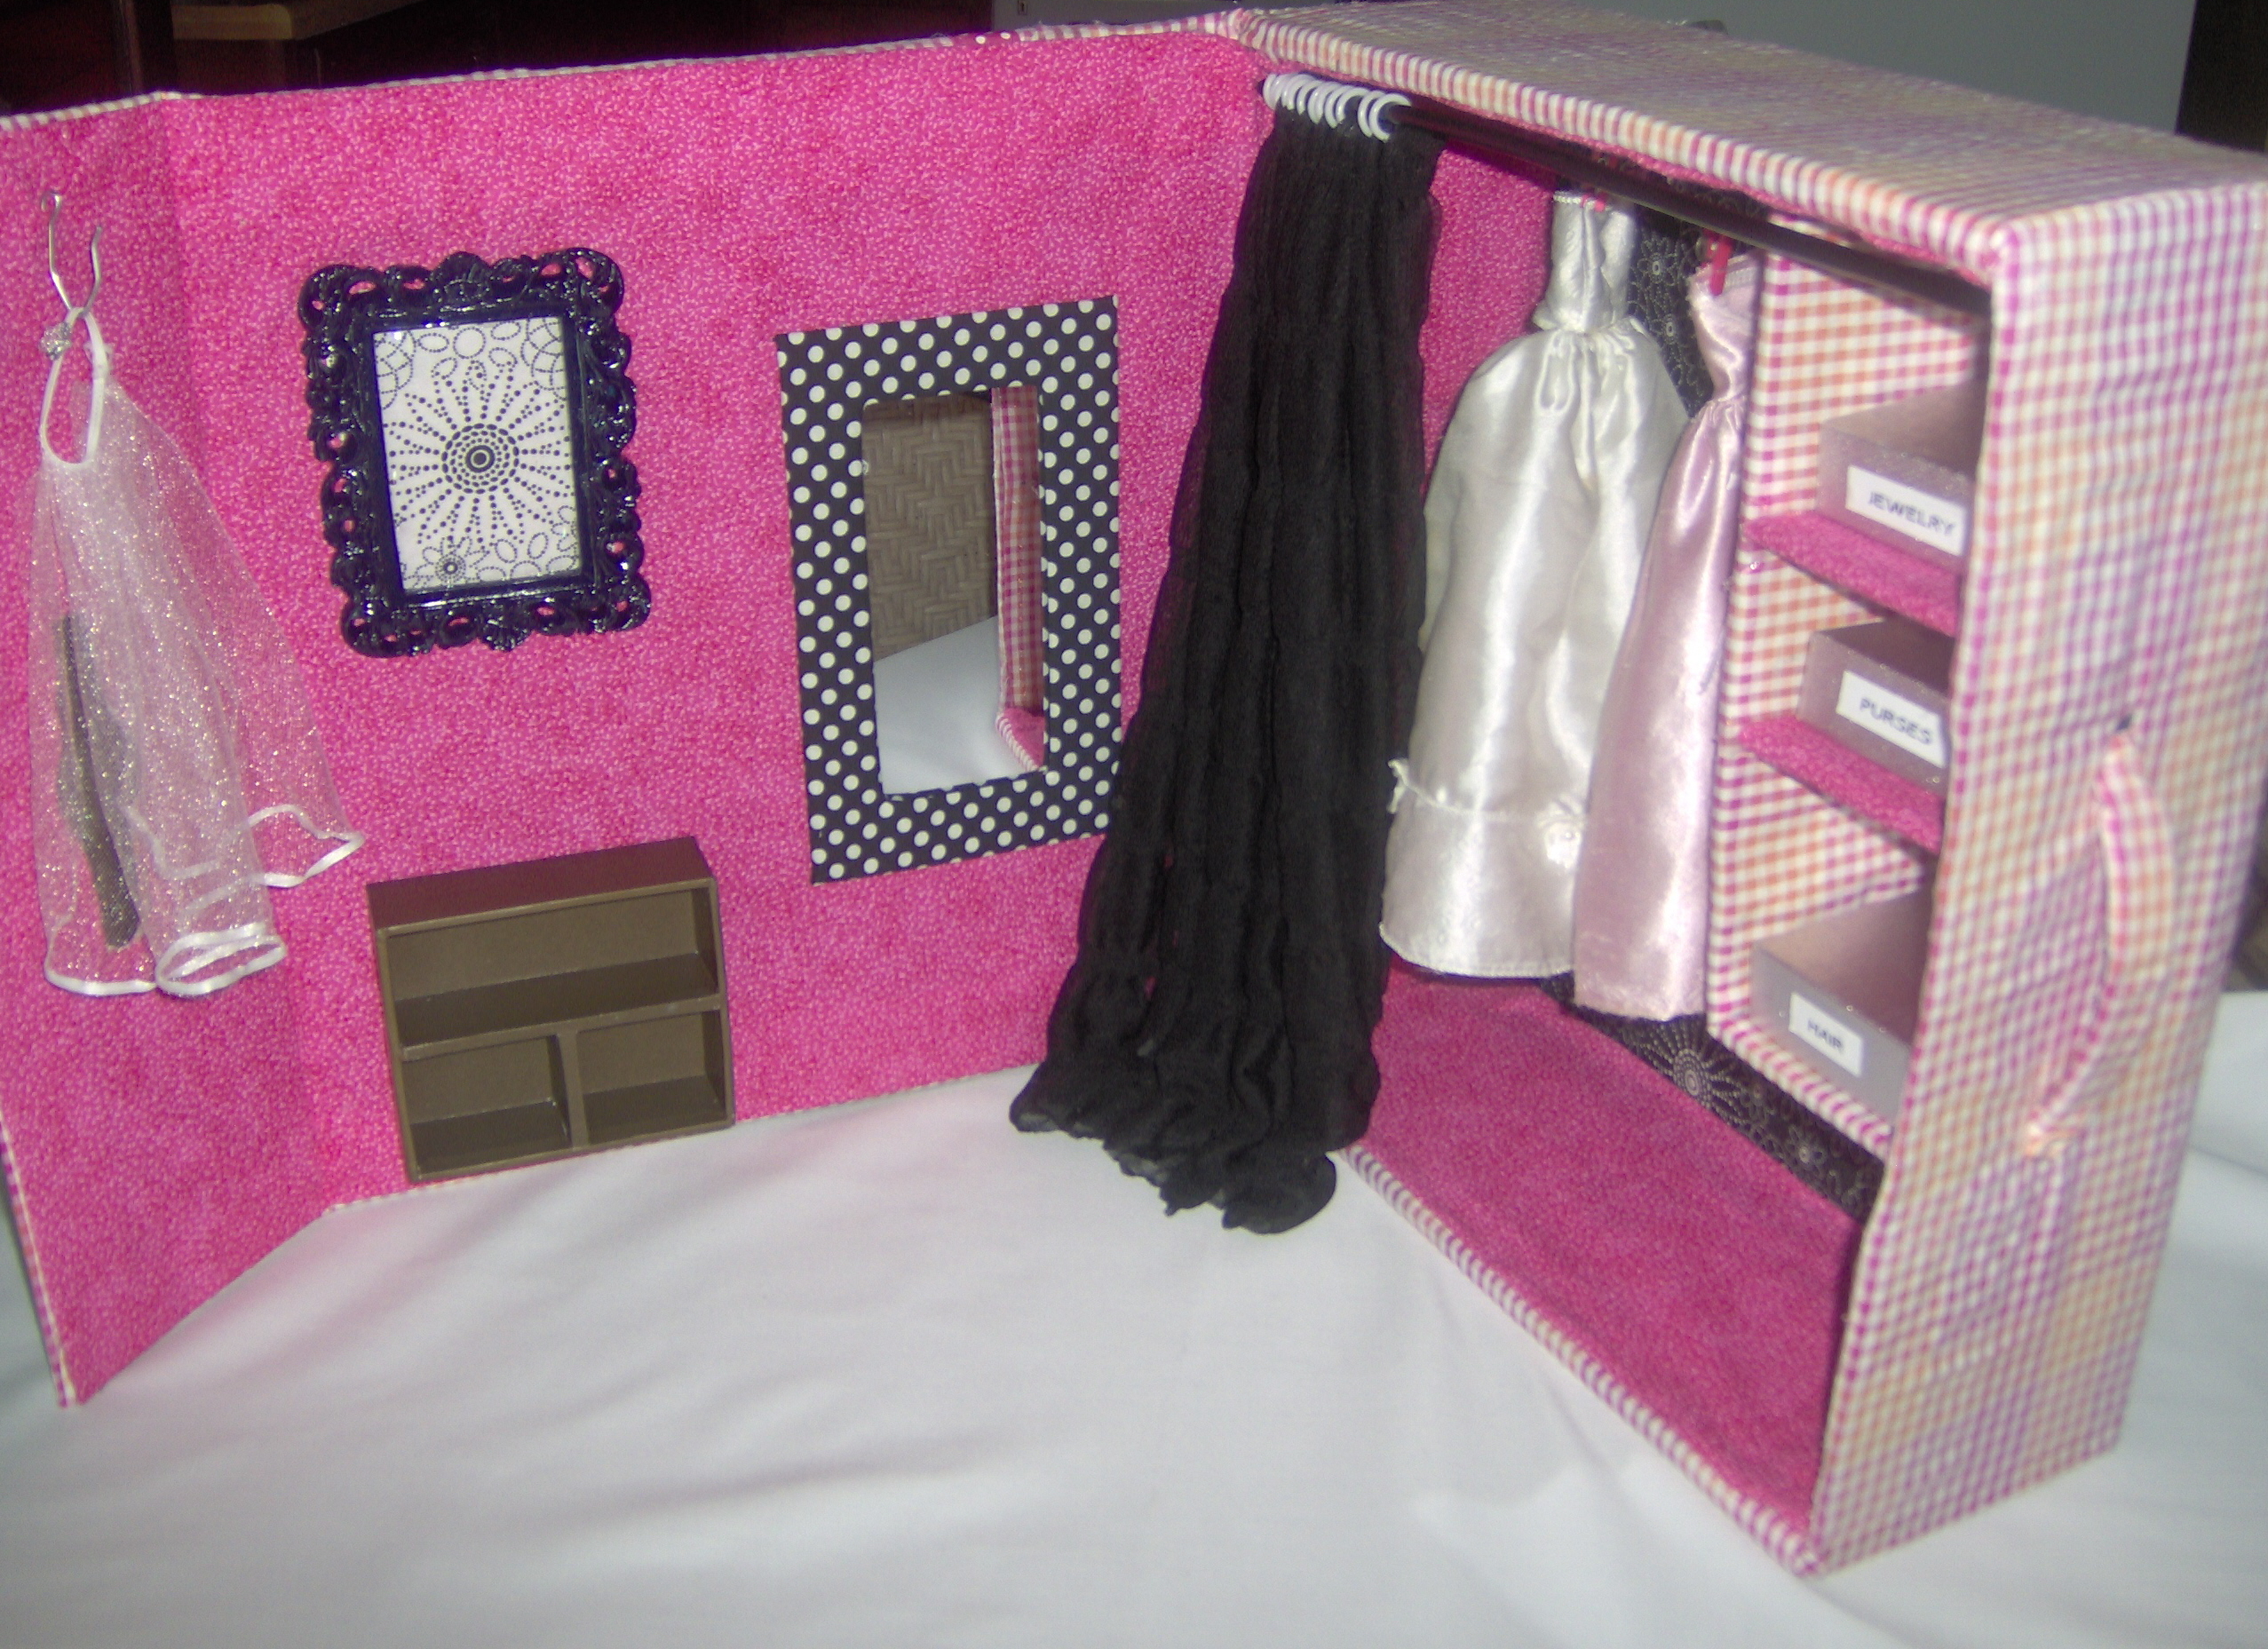
A Barbie dream closet and dressing room. I hope you all see the labeled boxes too. Even my Barbie is organized. lol
 I love to mix and coordinate fabrics. If you will remember that I am a Fabric Junkie and keep the smallest pieces. I was glad I still had my small hoard of fabric left over from all the Barbie furniture I made for Christmas, because when that magic monster hits me, I need to do it RIGHT NOW.
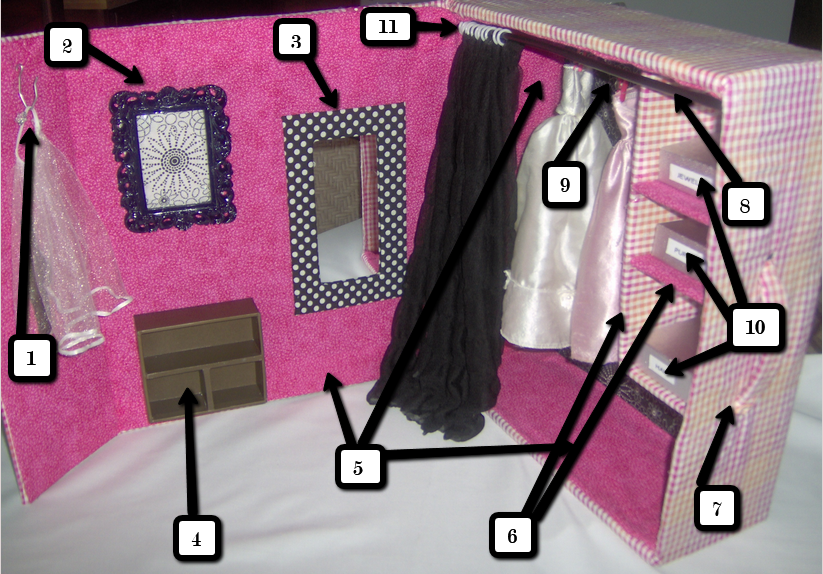
- Drapery hook piercing between 2 layers of cardboard. ( not recommended for small children.
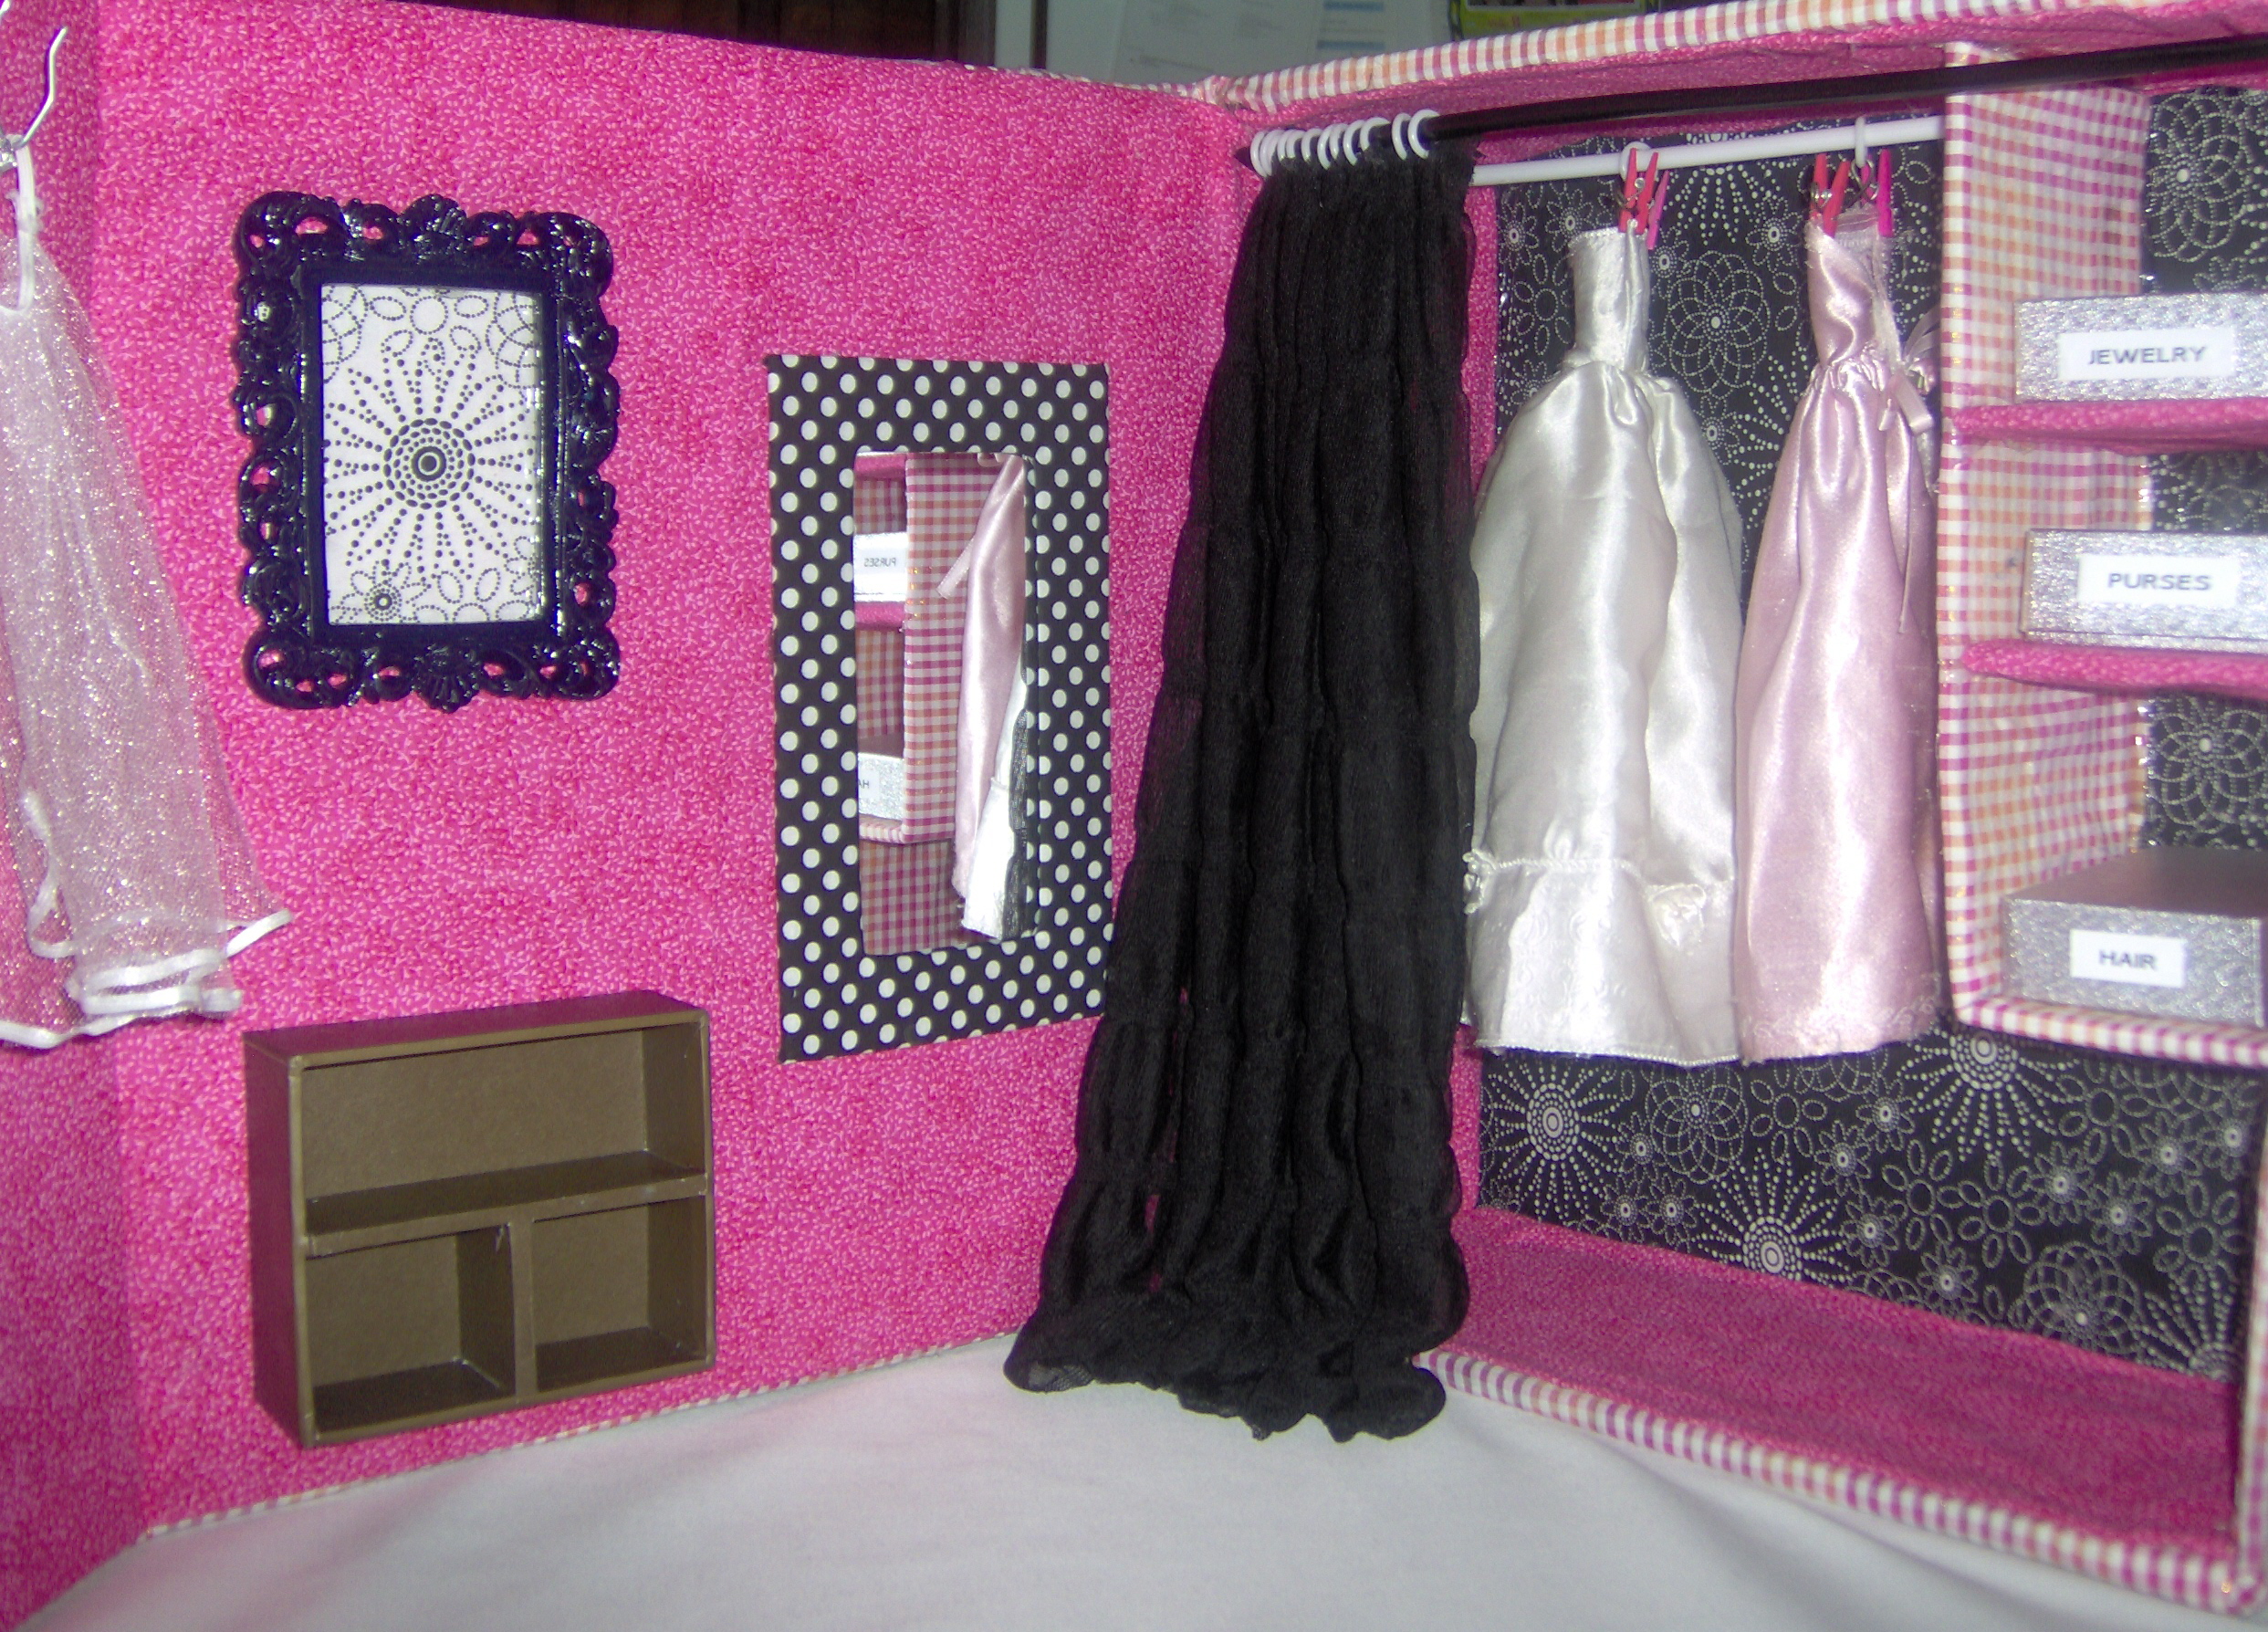
- Picture frame was found at Michael’s for 50 cents. I already had several. I cut out a small piece of coordinating fabric for the insert. Removed the stand from back. Hot glued to wall, applying pressure until glue was cooled.
- Framed mirror was made from a mirror in a small cardboard jewelry box. I removed the mirror from attached frame and covered the frame in fabric then returned mirror to frame. Hot glued to wall, applying pressure until glue cooled.
- Jewelry tray from the cardboard jewelry box. I started to change the color but decided to leave it brown. Hot glued to wall, also applying pressure until glue cooled. Note: In order for the closet box to close properly, I had to adjust the inside shelves to accommodate the jewelry tray’s depth. I also had to allow room for the above picture frame by setting the inside shelving back 1″.
- I upholstered the interior walls and the bottom, top & sides of closet with same fabric. Using hot glue.
- The shelves are simply scrap cardboard covered with fabric using hot glue. They were installed with only hot glue and applied pressure until glue was cooled.
- I covered the existing plastic handle with fabric using hot glue.
- The black curtain rod is simply a black plastic coat hanger that I cut to size with clippers. At the time of this picture, the only thing holding curtain rod(s) up is pure tension. The fabric is a very lightweight sheer material. I plan to make brackets with plastic water bottle caps cut in half for it to set in. Back rod is white and made from same material as the black one.
- You will notice that I upholstered the back wall with a bold black fabric using hot glue.
- The three little boxes are Premier Jewelry boxes, that I labeled with my label maker.
- The white rings are simply roman shade rings. I attached them about 2 1/2 – 3 inches apart and left the drapery long so it would puddle at the bottom. The rings allow the drape to be easily opened & closed.
- Oops, I forgot to tell you that I made wire coat hangers attached to white plastic rings that stay on the rod. I also used tiny little clothes pins for strapless items, that you can find at any craft store. I also have plans to make a pretty bench to set in front of mirror.
You will need a glue gun, glue sticks, Popsicle sticks to keep from burning fingers, various fabric pieces. Any additional accessories you may have.
Now, I have the perfect place to store all of the barbie clothes and keep them organized. Even the accessories.
Oh, did I mention that it cost me NOTHING to make this? I only used items that I had!
Send me some love with your comments about my Barbie dream closet. I hope you enjoy!!! Share it with your friends that love crafts or have little girls that play with barbies.
4 Comments
Hey Dayna, Yes, this is a hobby for me. I enjoy arts and crafts, especially Barbie stuff. Thanks for commenting!
Wow!!!! Susie, did you really do this? I can’t imagine! I would have loved this Barbie closet as a child! My sister, 5 years older, was a master at getting me to trade my brand new Barbie clothes for her ugly homemade ones. That is my biggest memory of having Barbies. It was fun to look up on the Blogging list and see that your blog was one of the ones for me to visit today! Blessings!
AMummysLife, IKR, when my granddaughters play Barbies here, I find shoes and small things everywhere “after they clean up” Glad you like it.
OMG Susie! Celine would love this! She’s Barbie mad at the moment and I’m always finding the shoes and clothing everywhere!