
Jennifer Allwood’s Creator’s Road Map
February 2, 2019
Organizing Your Bedroom
August 13, 2019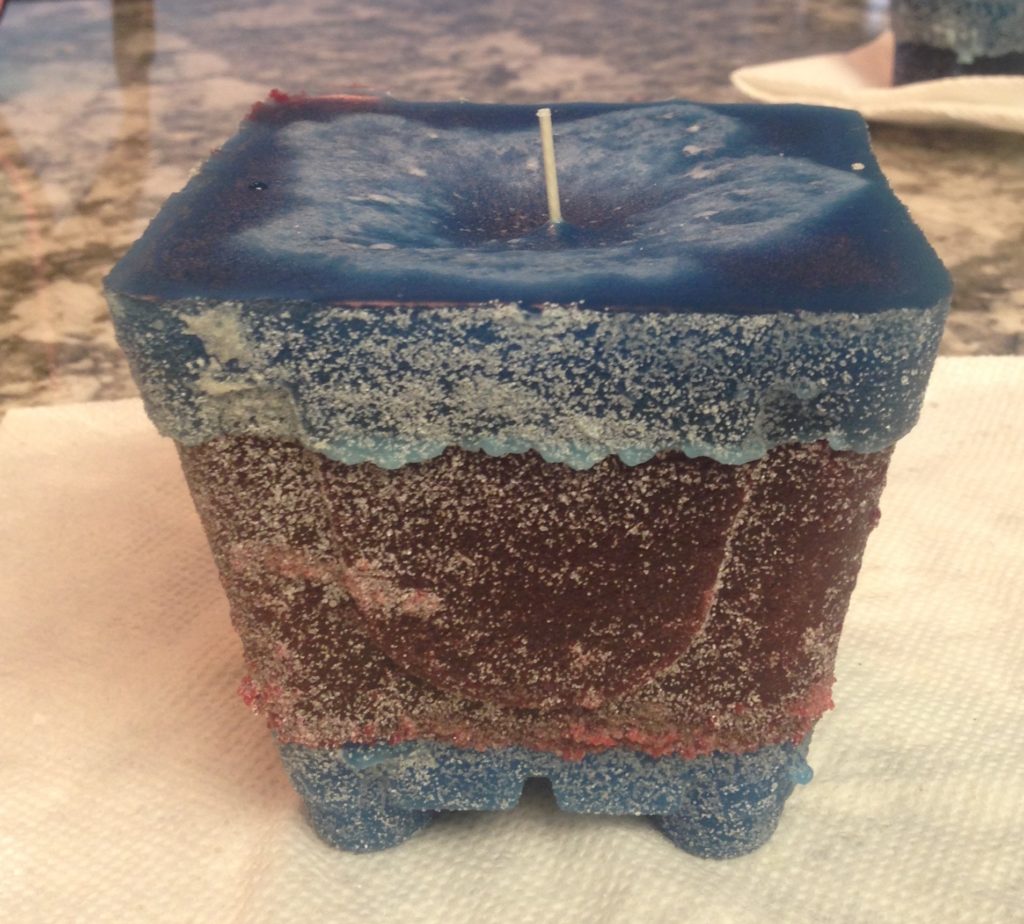

DIY Making Beach Candles
My husband and I had so much fun making these beach candles that we wanted to share our process with you.
We decided to bring the sand up from the beach and make them in the kitchen of our beach condo. Some people choose to make theirs on the beach, which is very doable, but this old gal wanted the convenience of a kitchen. So, here is our version of making beach candles.
What you need:
- granulated candle wax
- candle wicks
- sand
(You can buy it or you can use beach sand)
- candle pouring pitcher
- candle scents
Melting the wax
First, we started with 3 different colors of granulated wax. The granulated wax melts a lot faster than the blocks. Click the picture for a link to chose as many colors as you want.

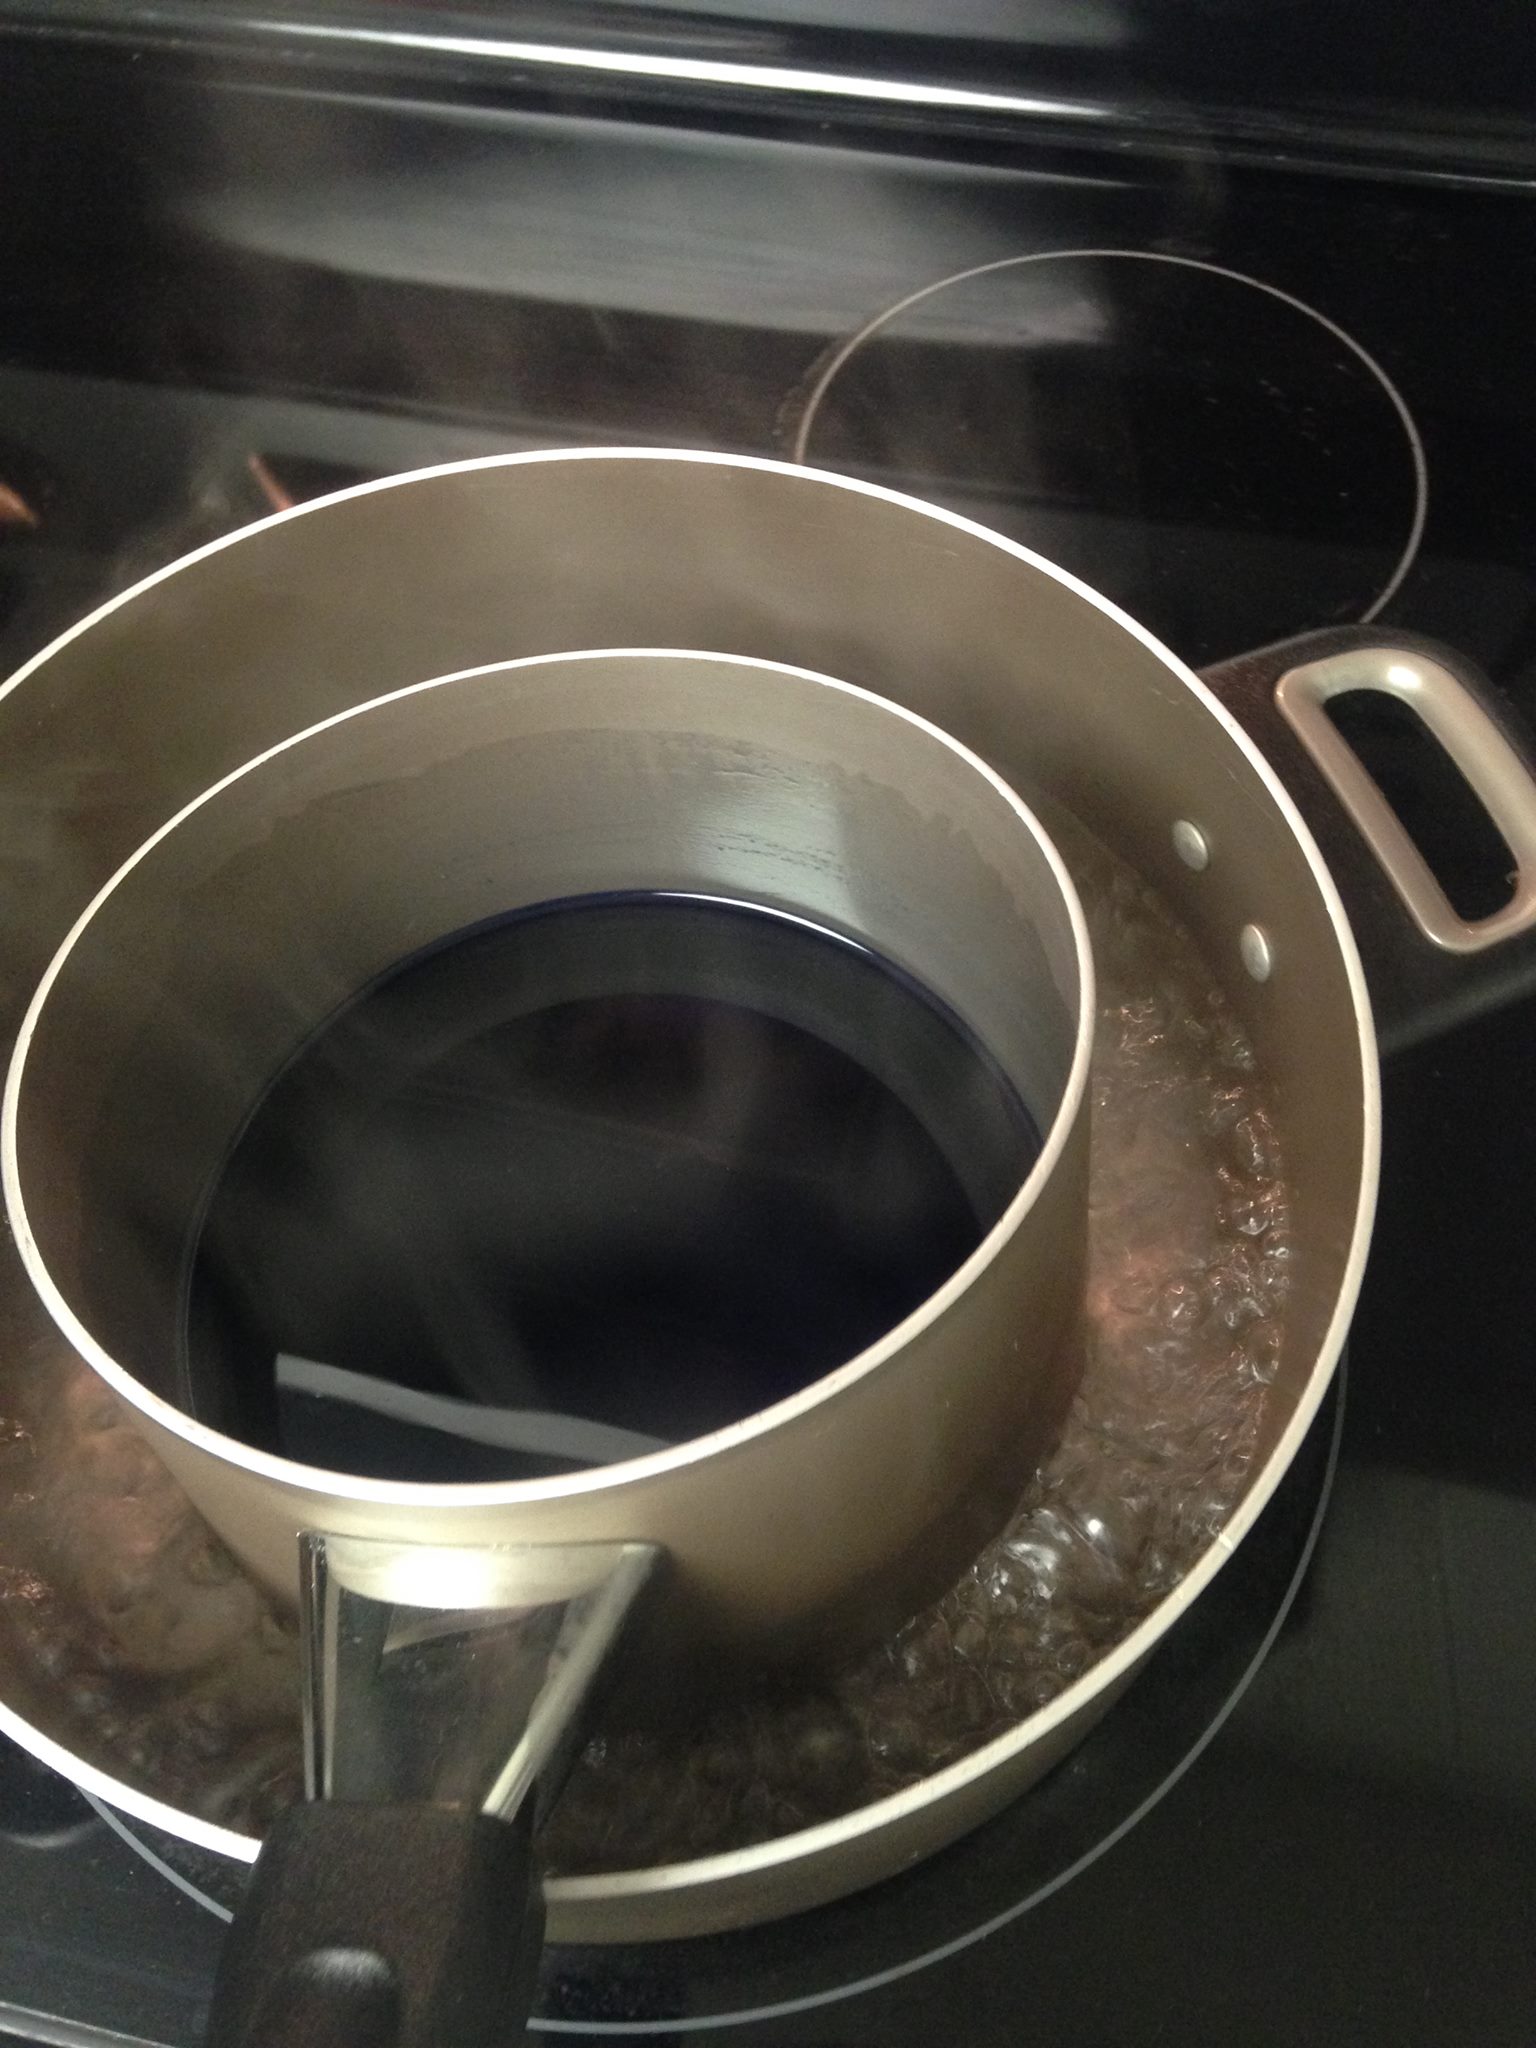 Double boiler method to melt the wax. (A smaller pan for the wax inside a larger pan with boiling water). However, I highly recommend that you get one of the candle pouring pitchers listed above, because not having a lip on the pan made it messy and more difficult to pour the hot wax.

Making the molds
Having moist sand makes it easier to create the molds. The first candle was in a shallow casserole dish. This mold was done freehand.
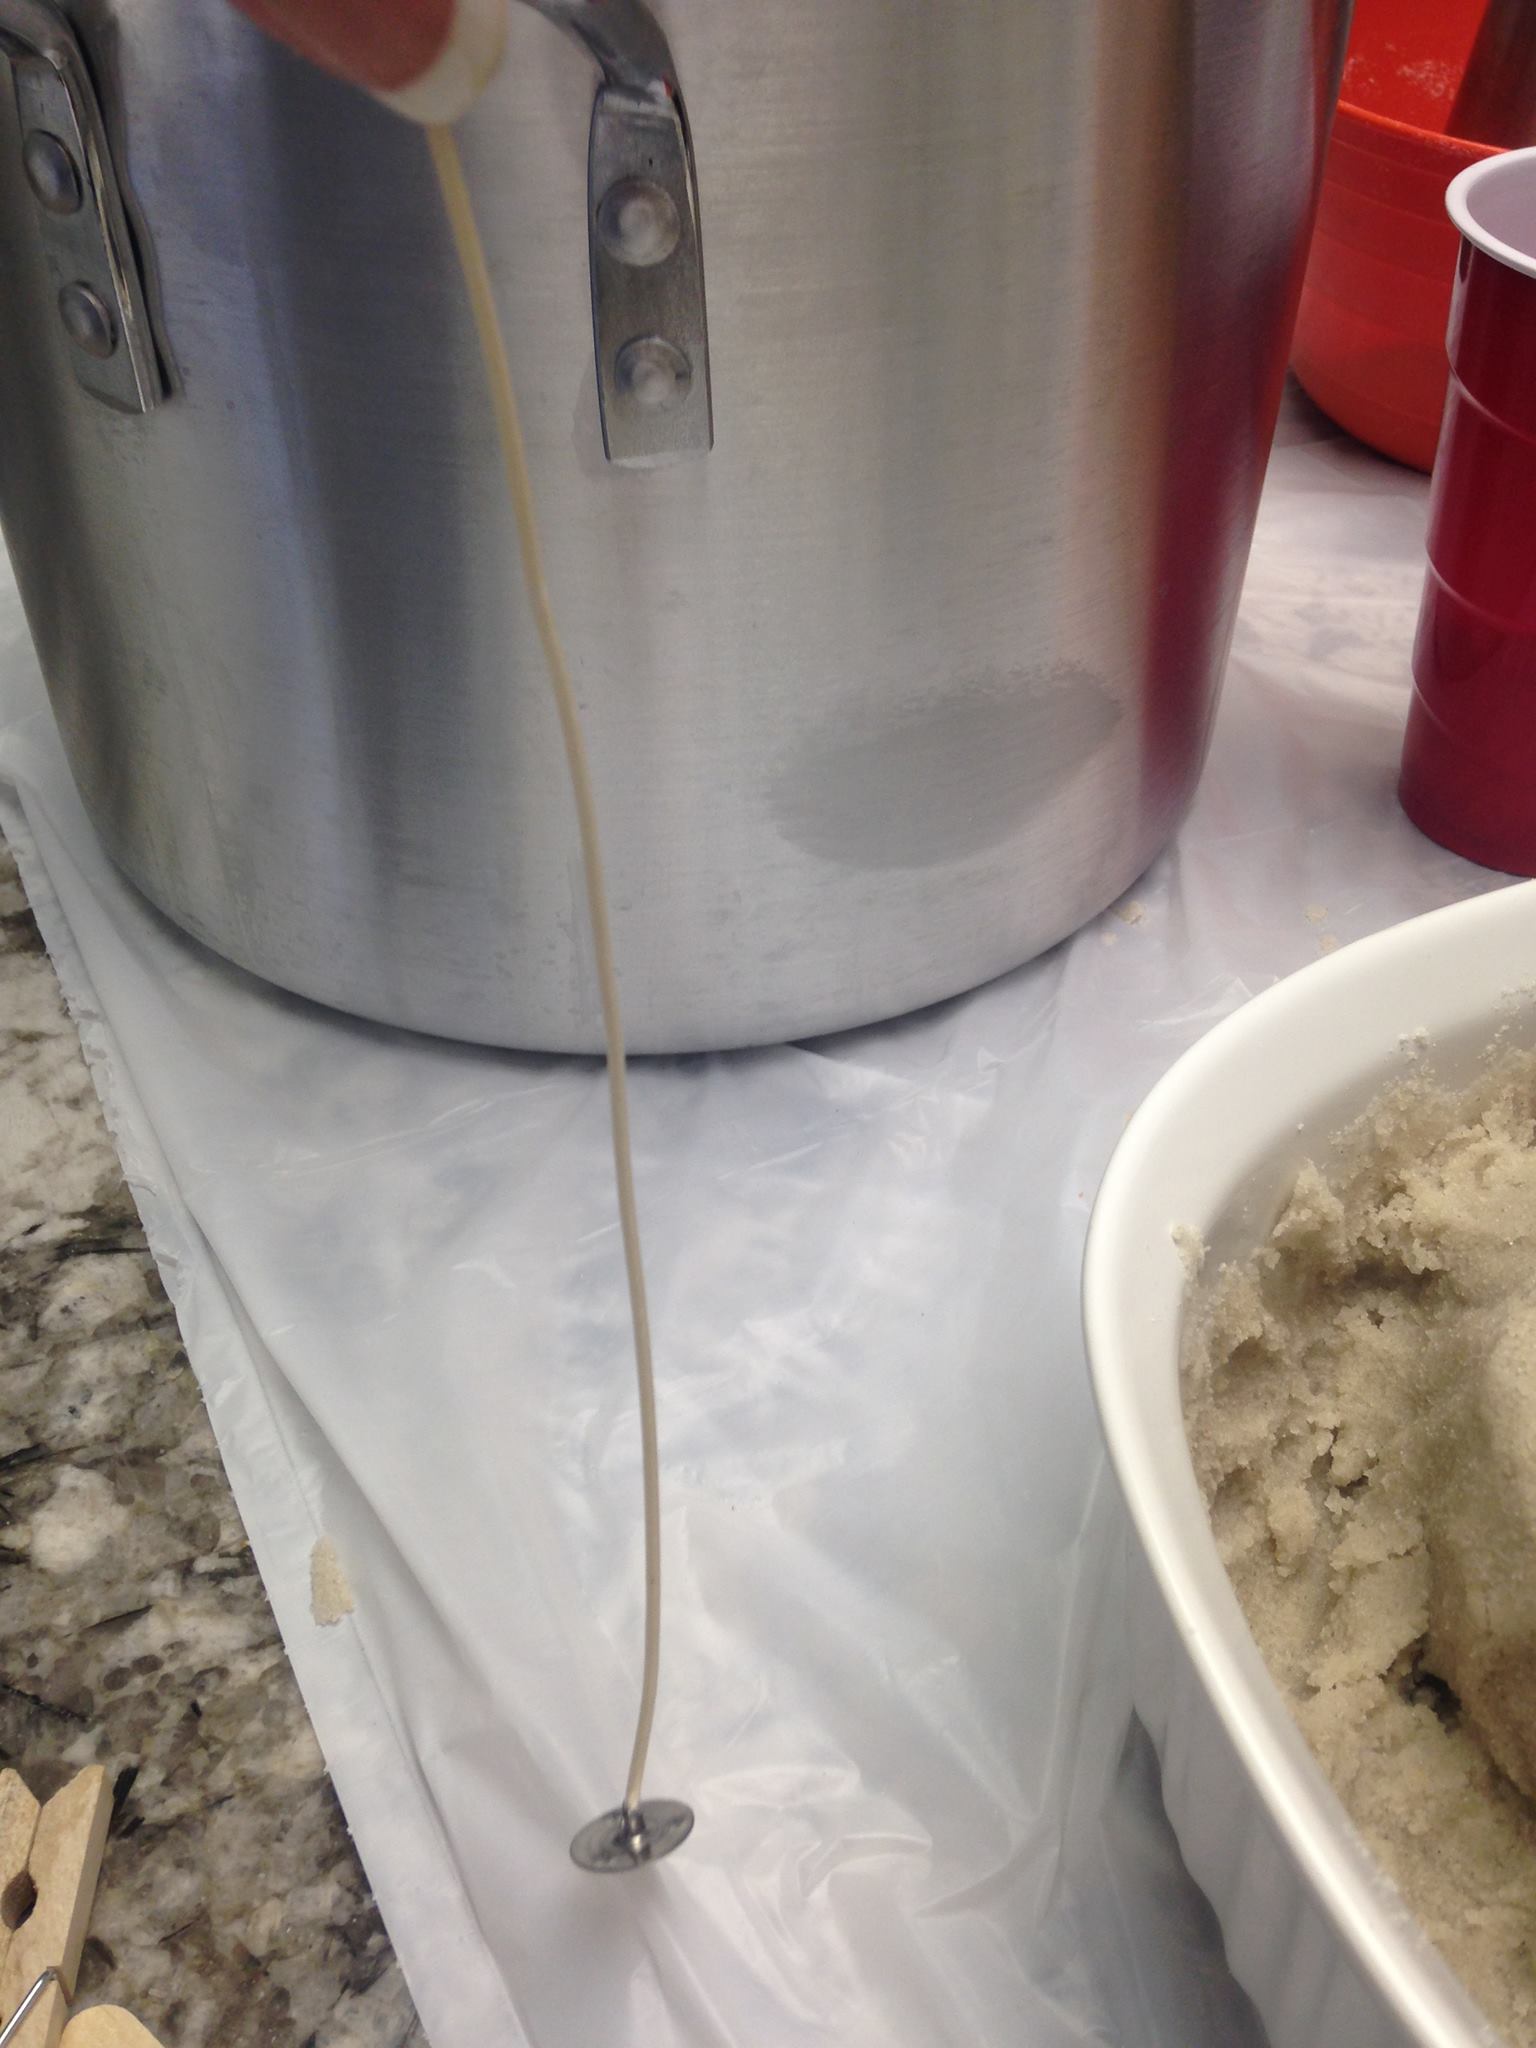
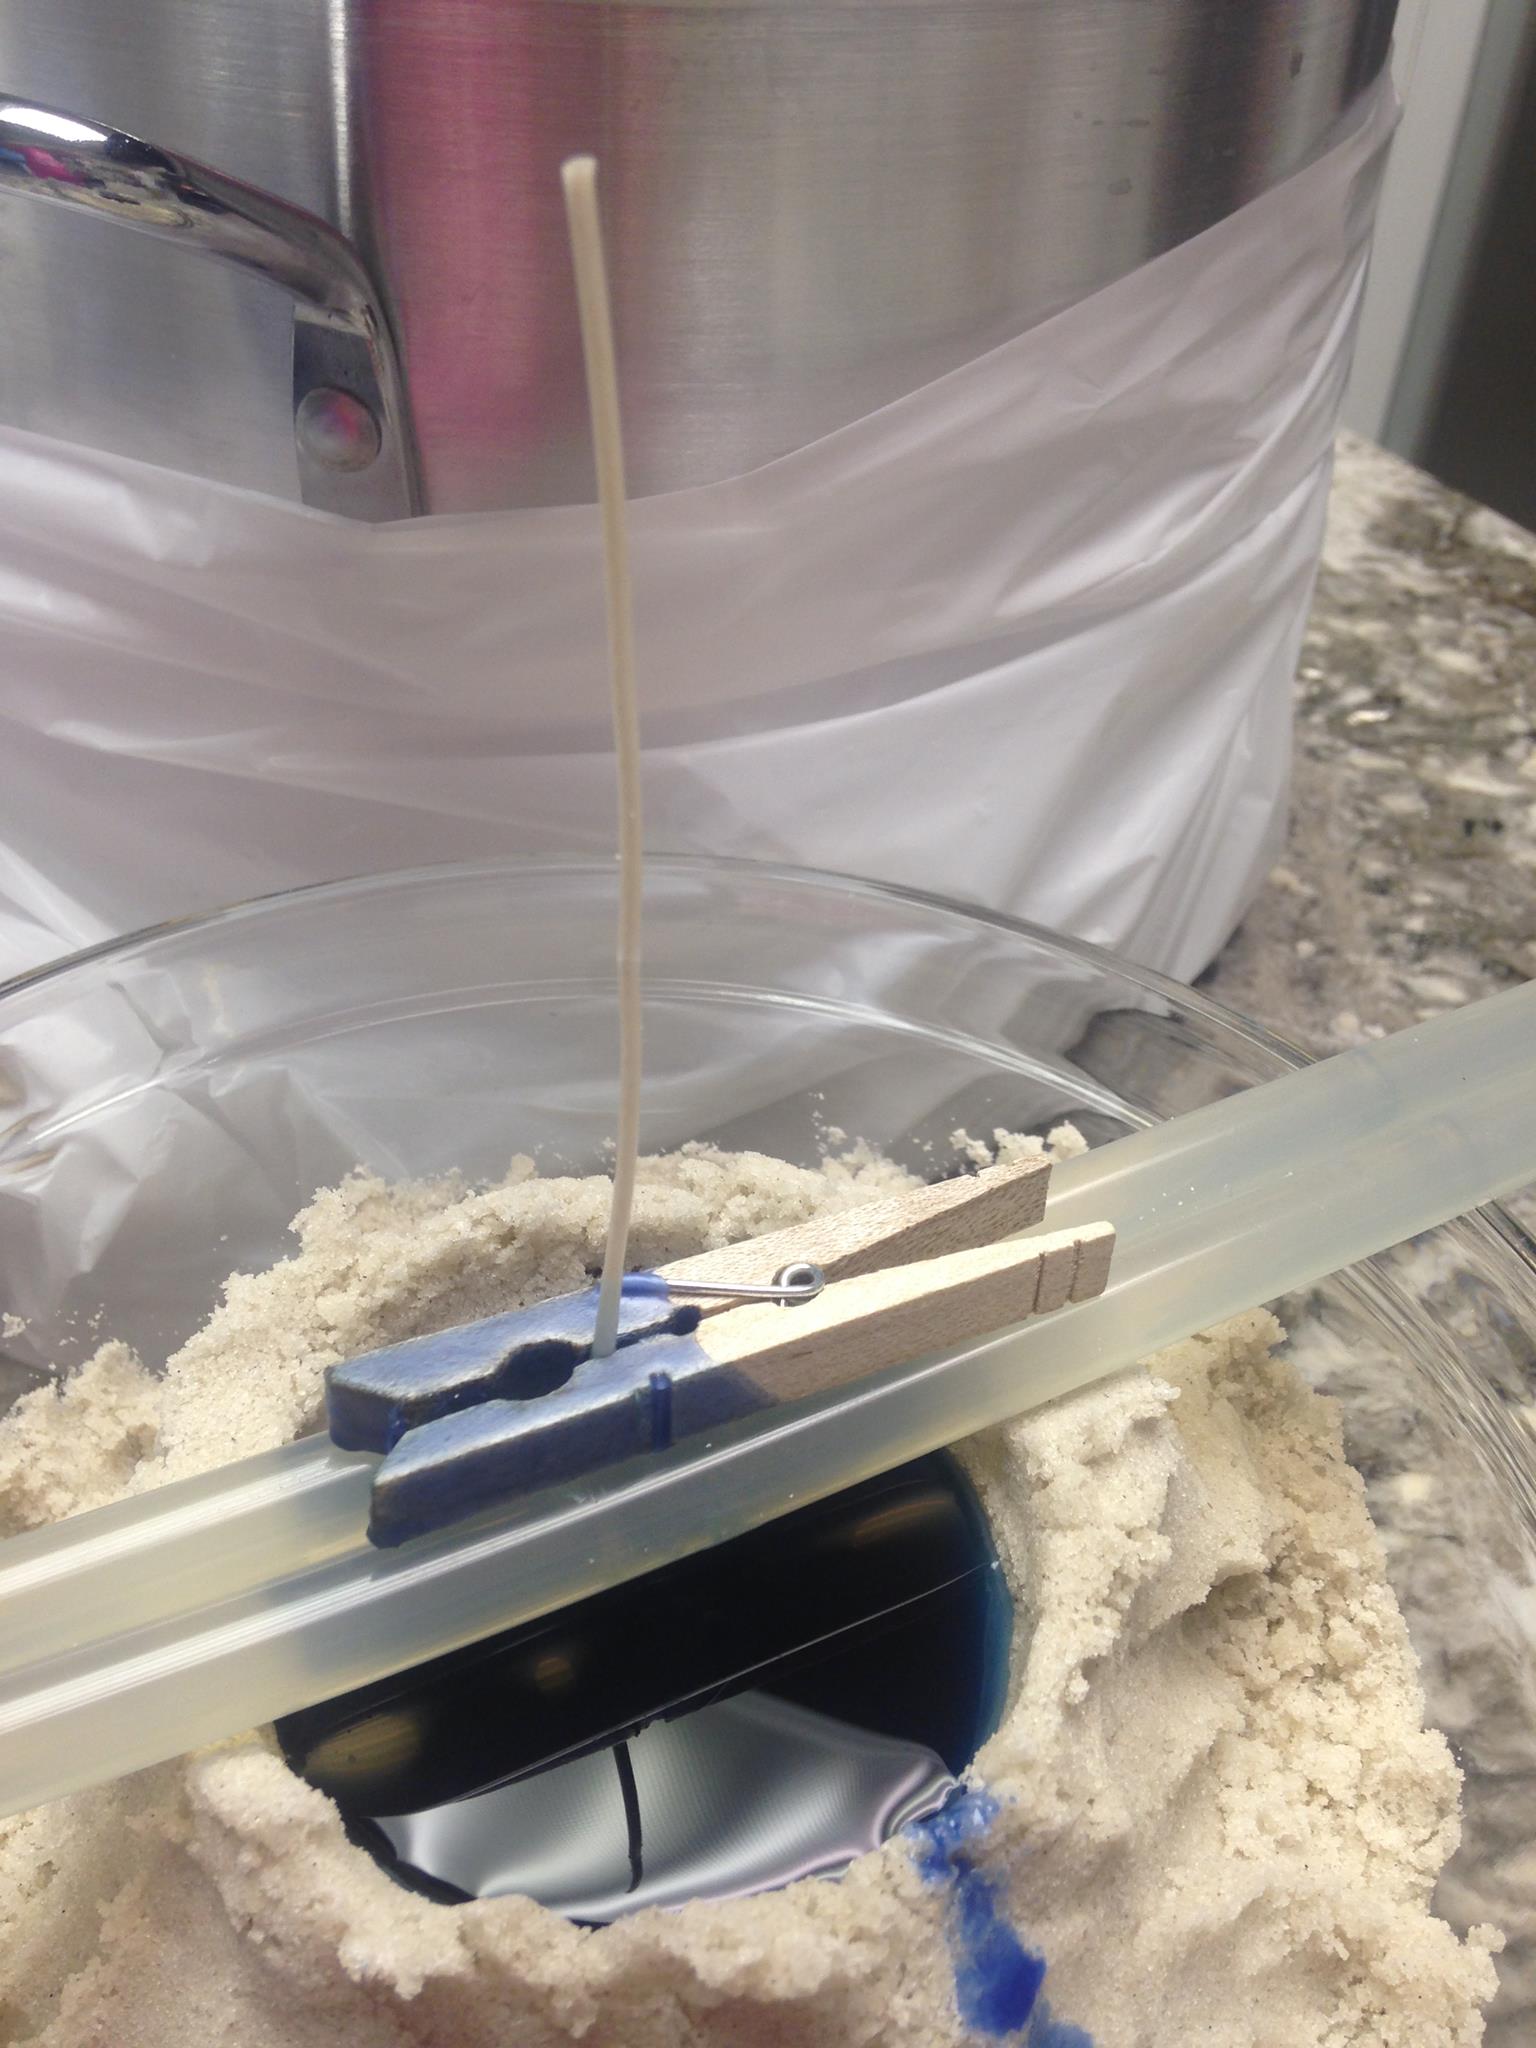
Note: Here we used glue sticks and a clothes pin to stabilize the wick.
(I had to use what I had at the time). BBQ skewer sticks would work better since I got wax all over my glue sticks. The clothes pin was perfect for keeping the wick centered.
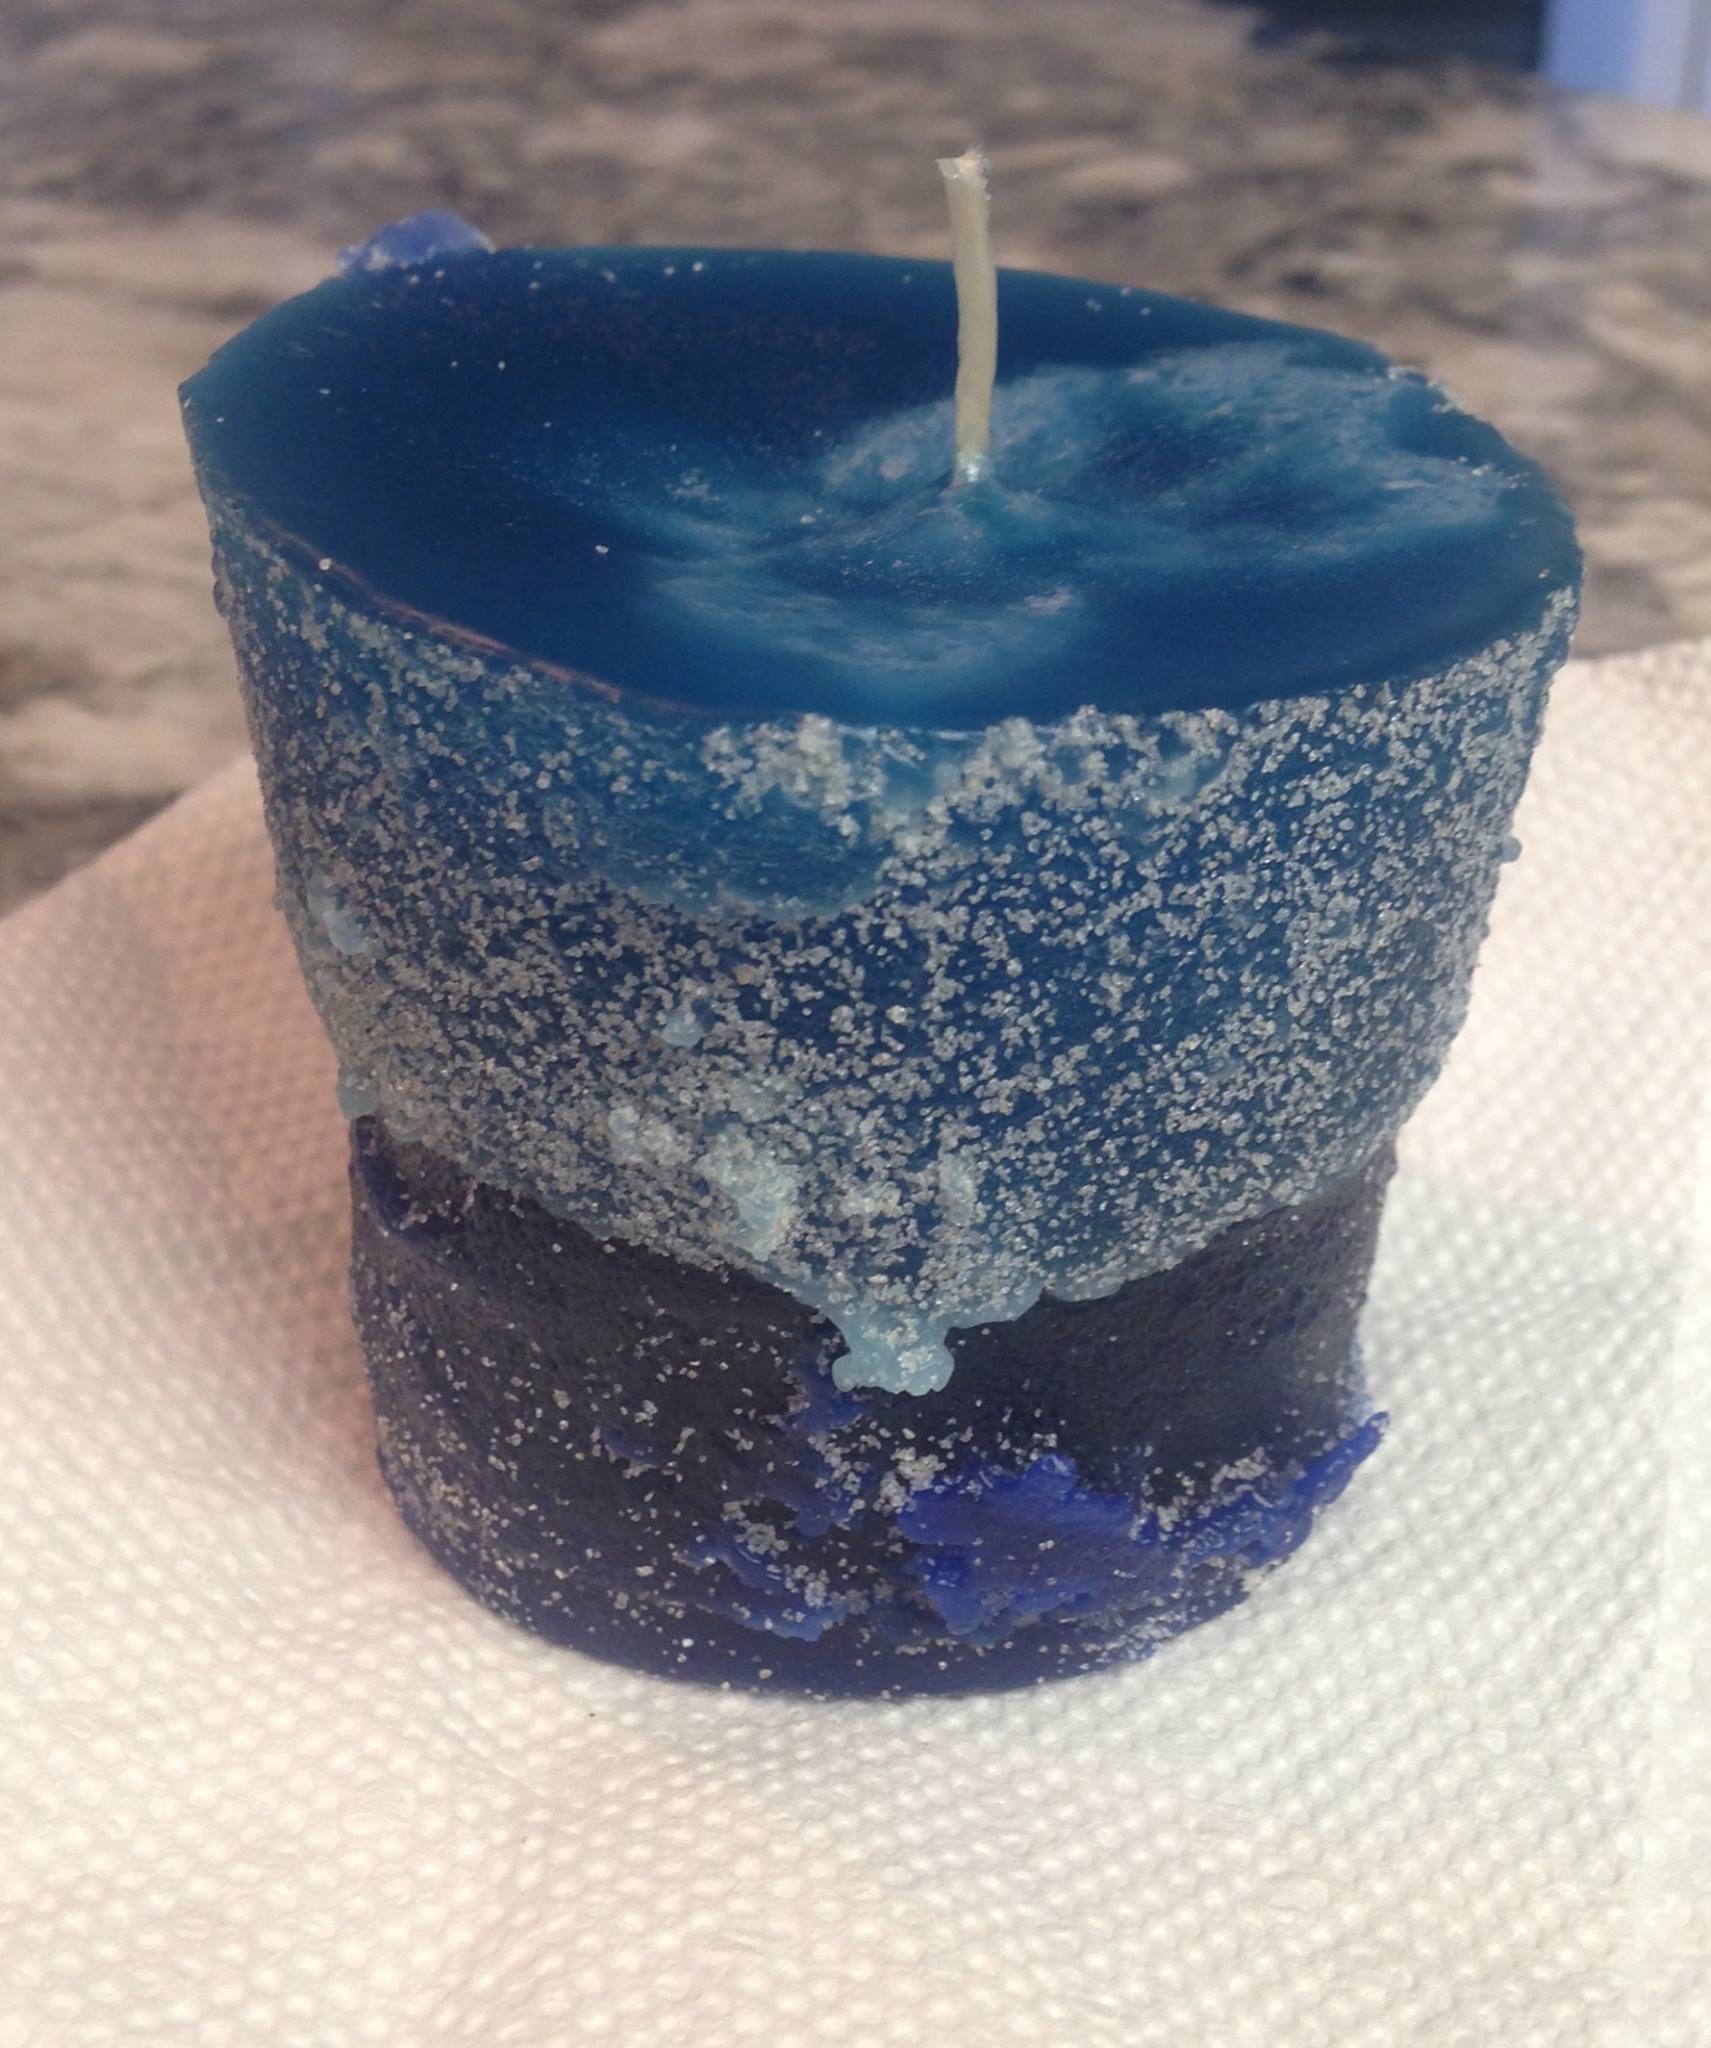
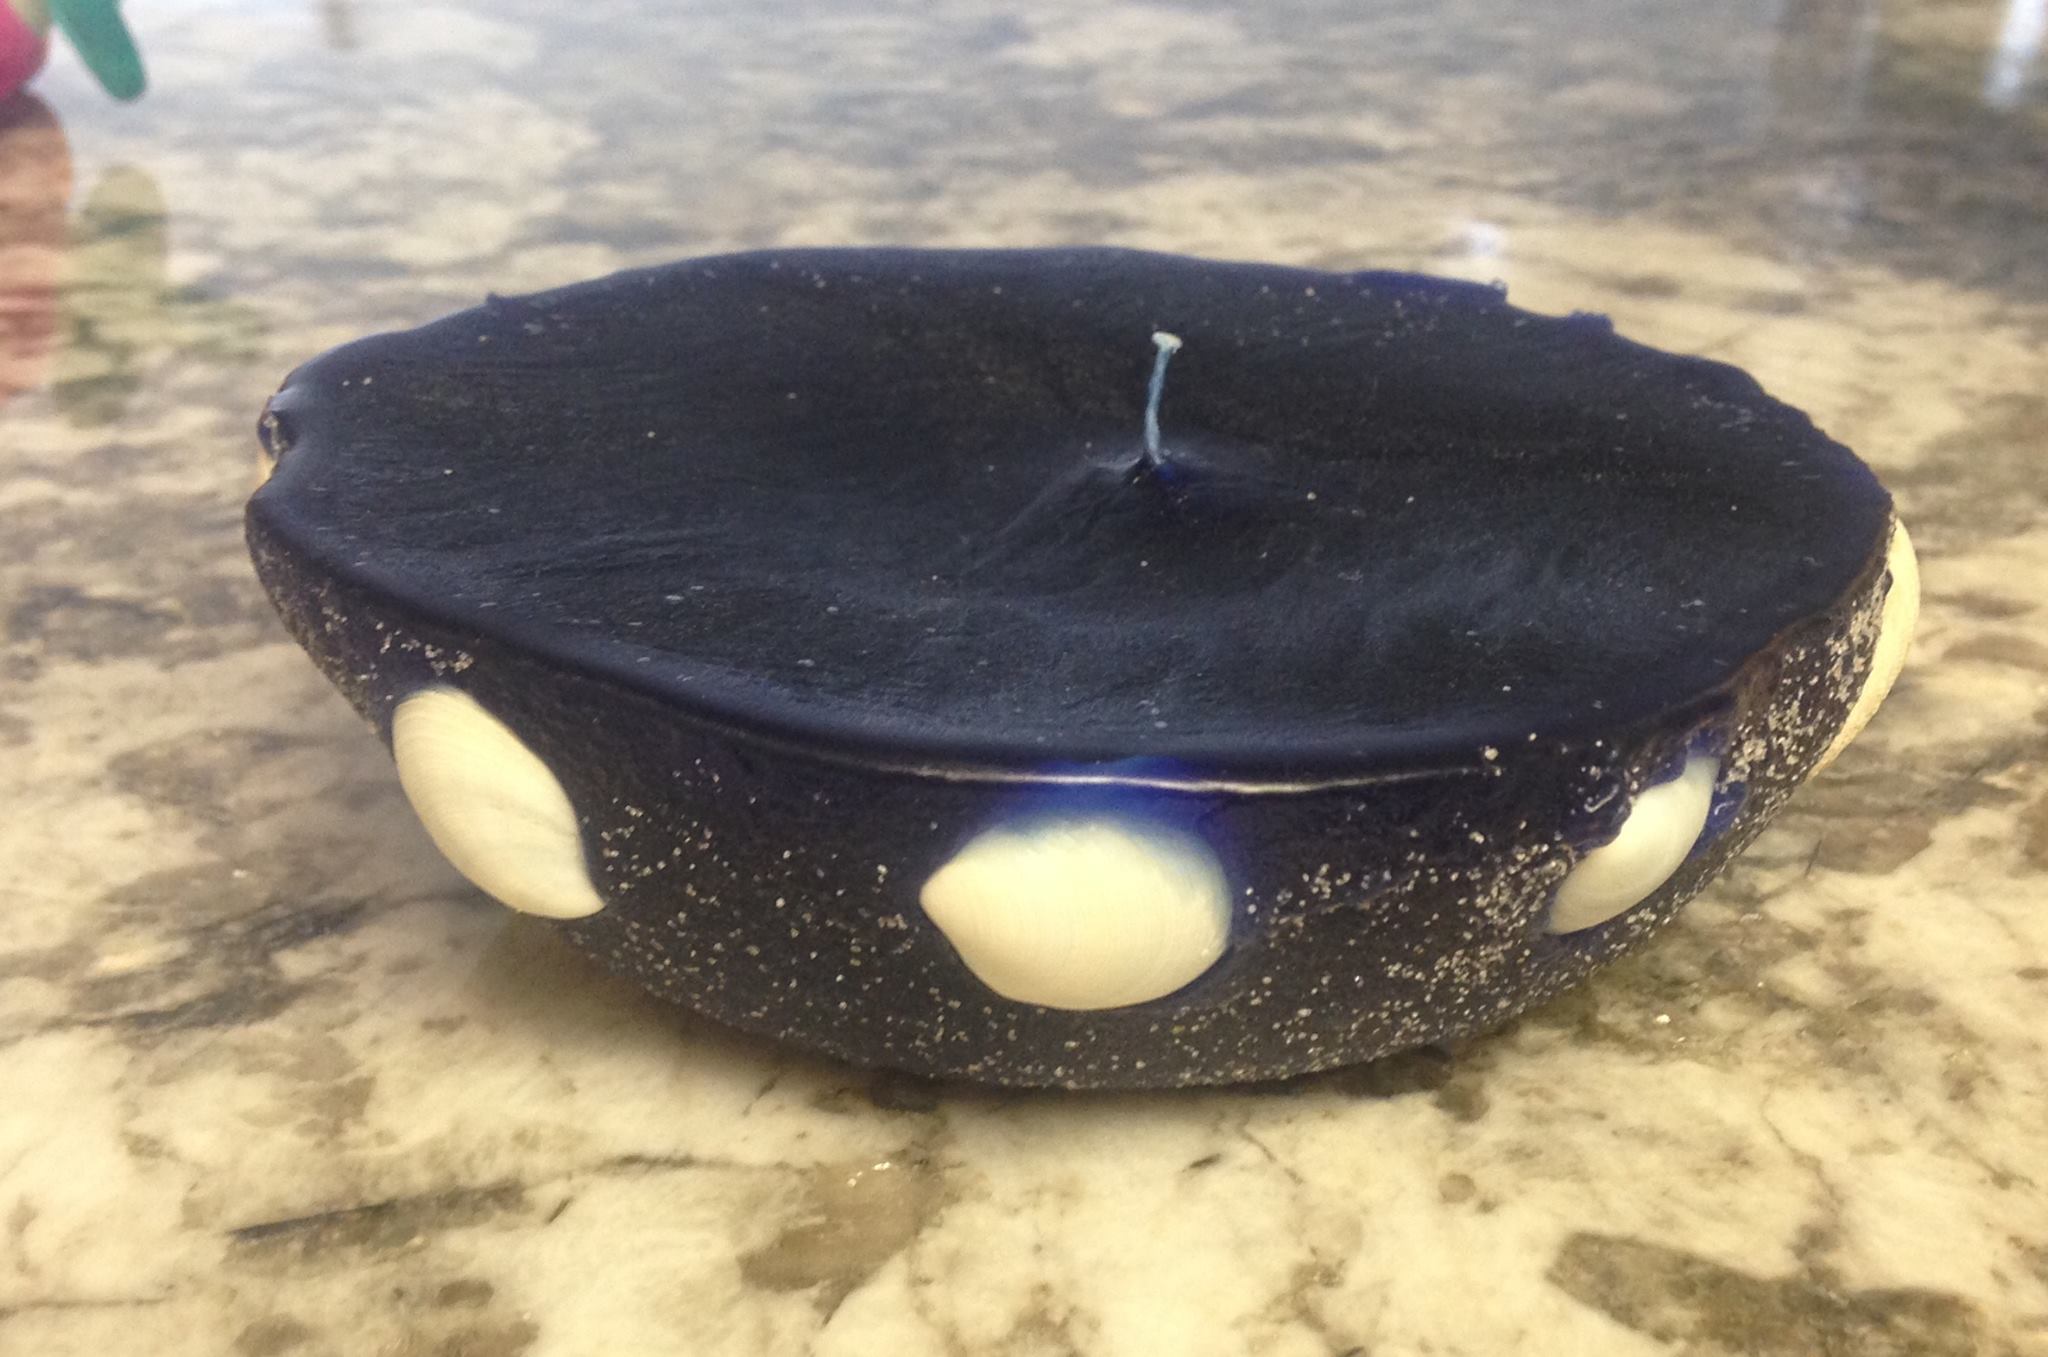 Here is a picture of the first candle from the shallow dish. Note: We pushed some seashells into the sand mold before pouring the wax.
This sand mold was a little too wet which prevented the outer shell of the candle from absorbing the wax and developing the crusty/sandy effect.
Long wicks allows the option of cutting them down to the desired length as needed.
The next candle was my husbands idea and turns out to be my favorite. He used a simple sandcastle mold pressed into the sand. Using 3 different layers of color while letting each layer cool before pouring the next. 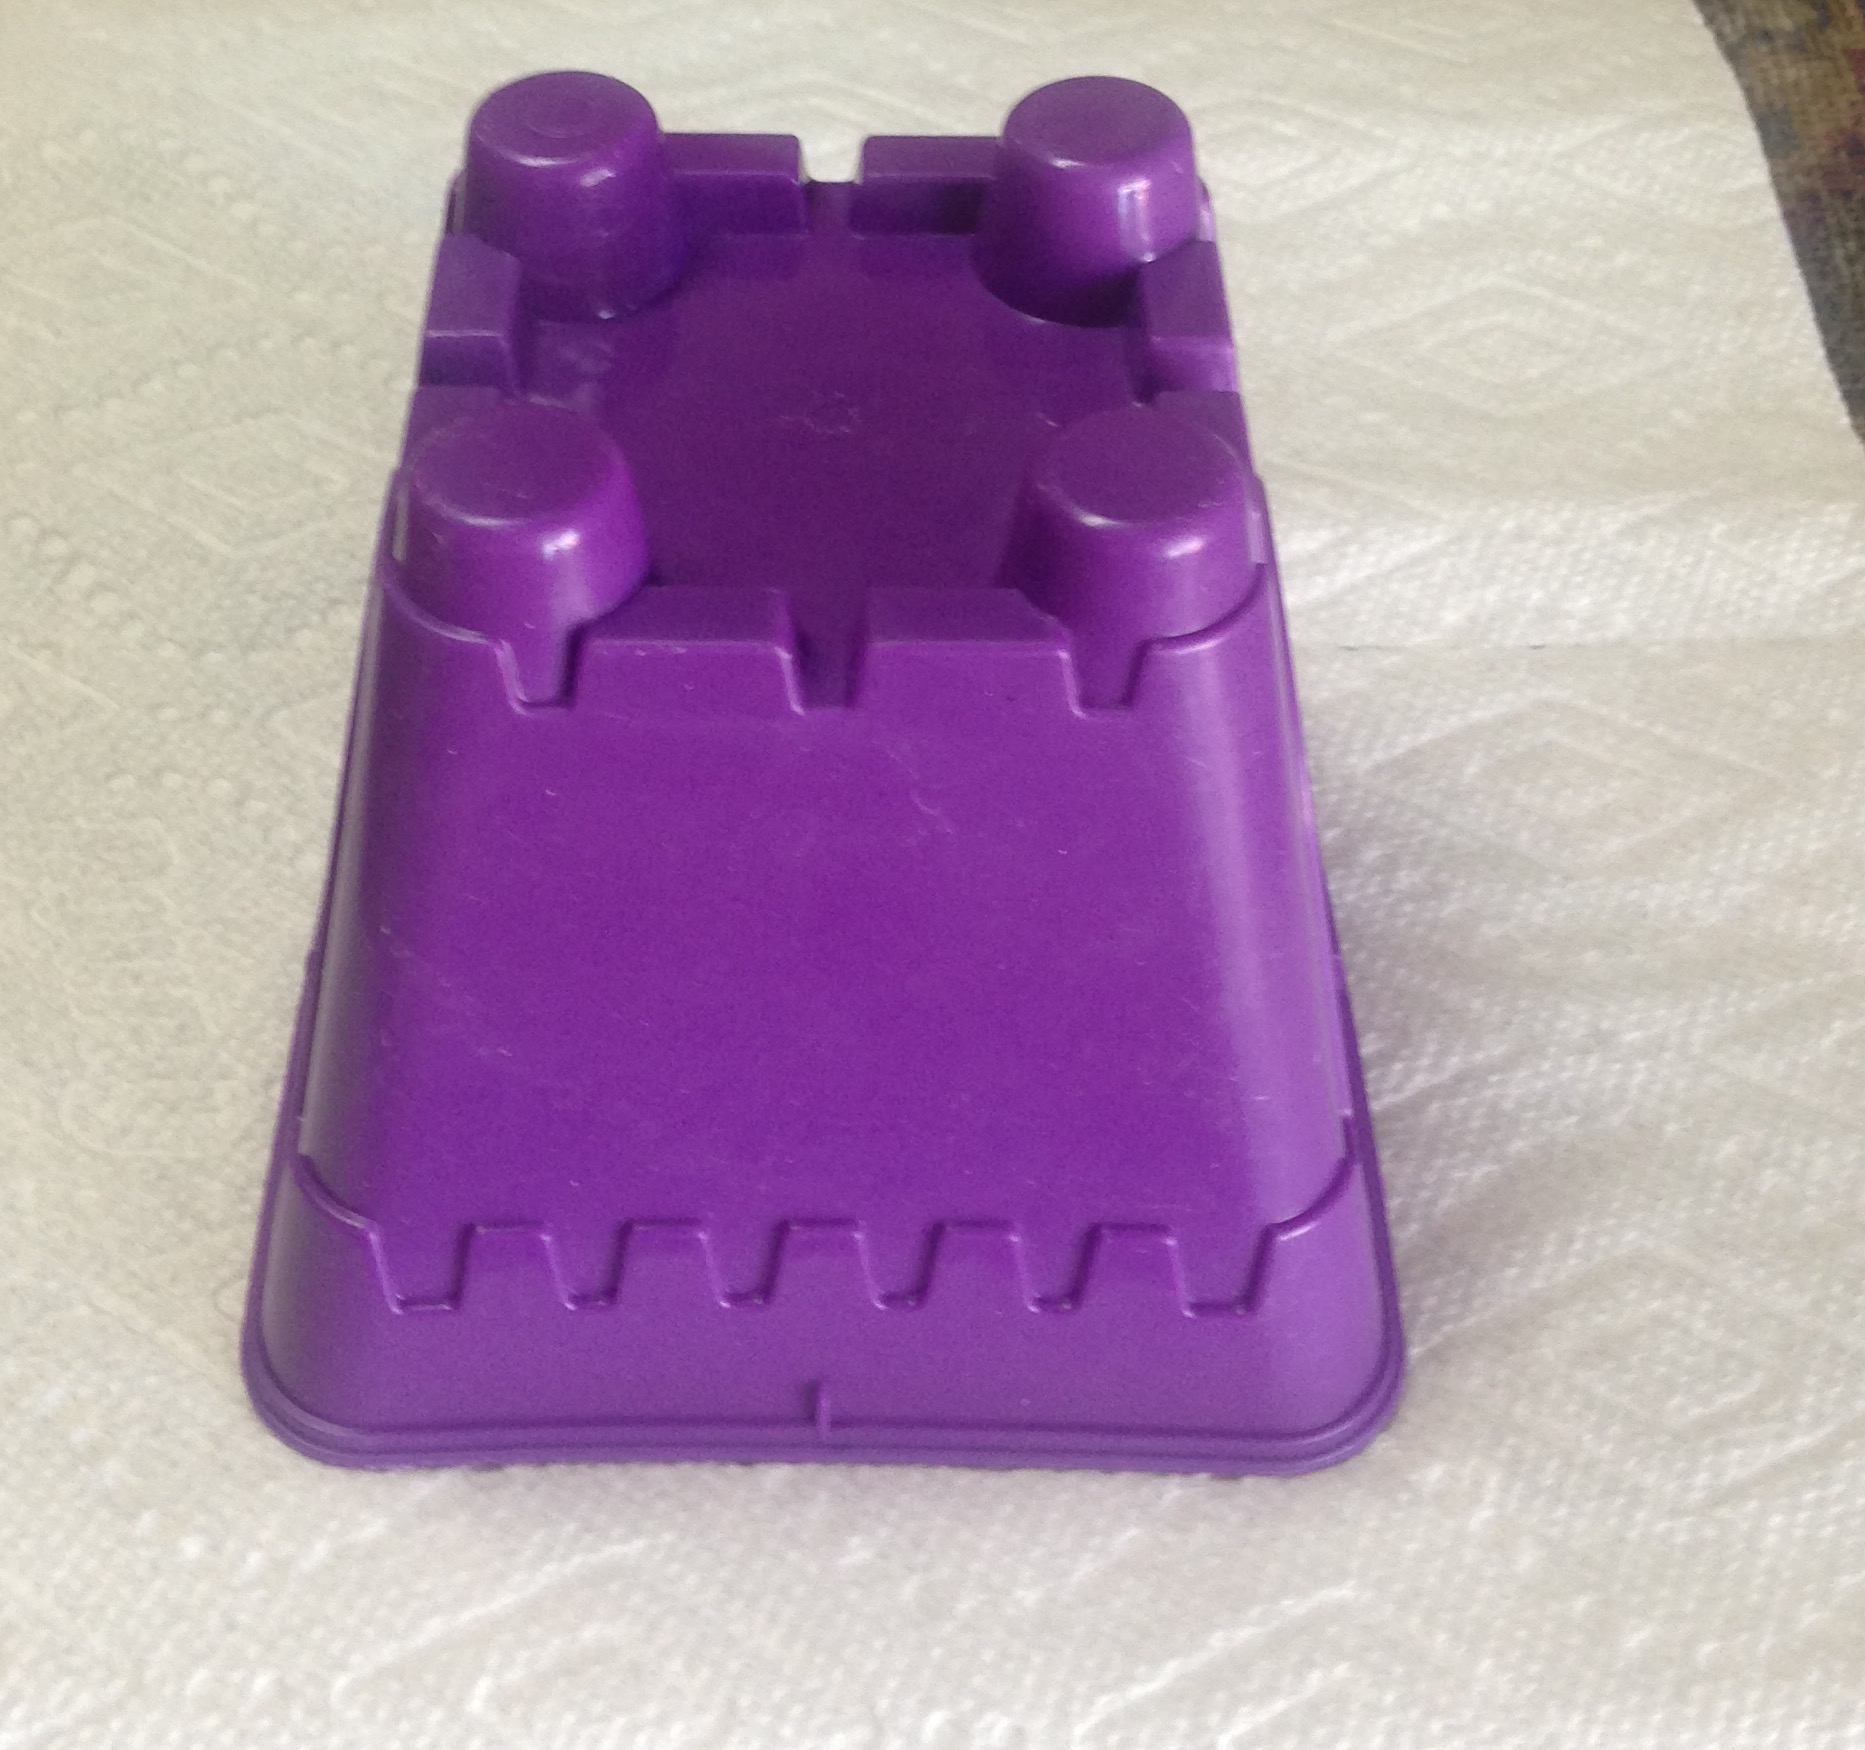
Letting each layer cool
 This is the sandcastle mold waiting for the last layer of blue wax. If you will notice, each layer that was poured added a much desired crusty/sandy look.
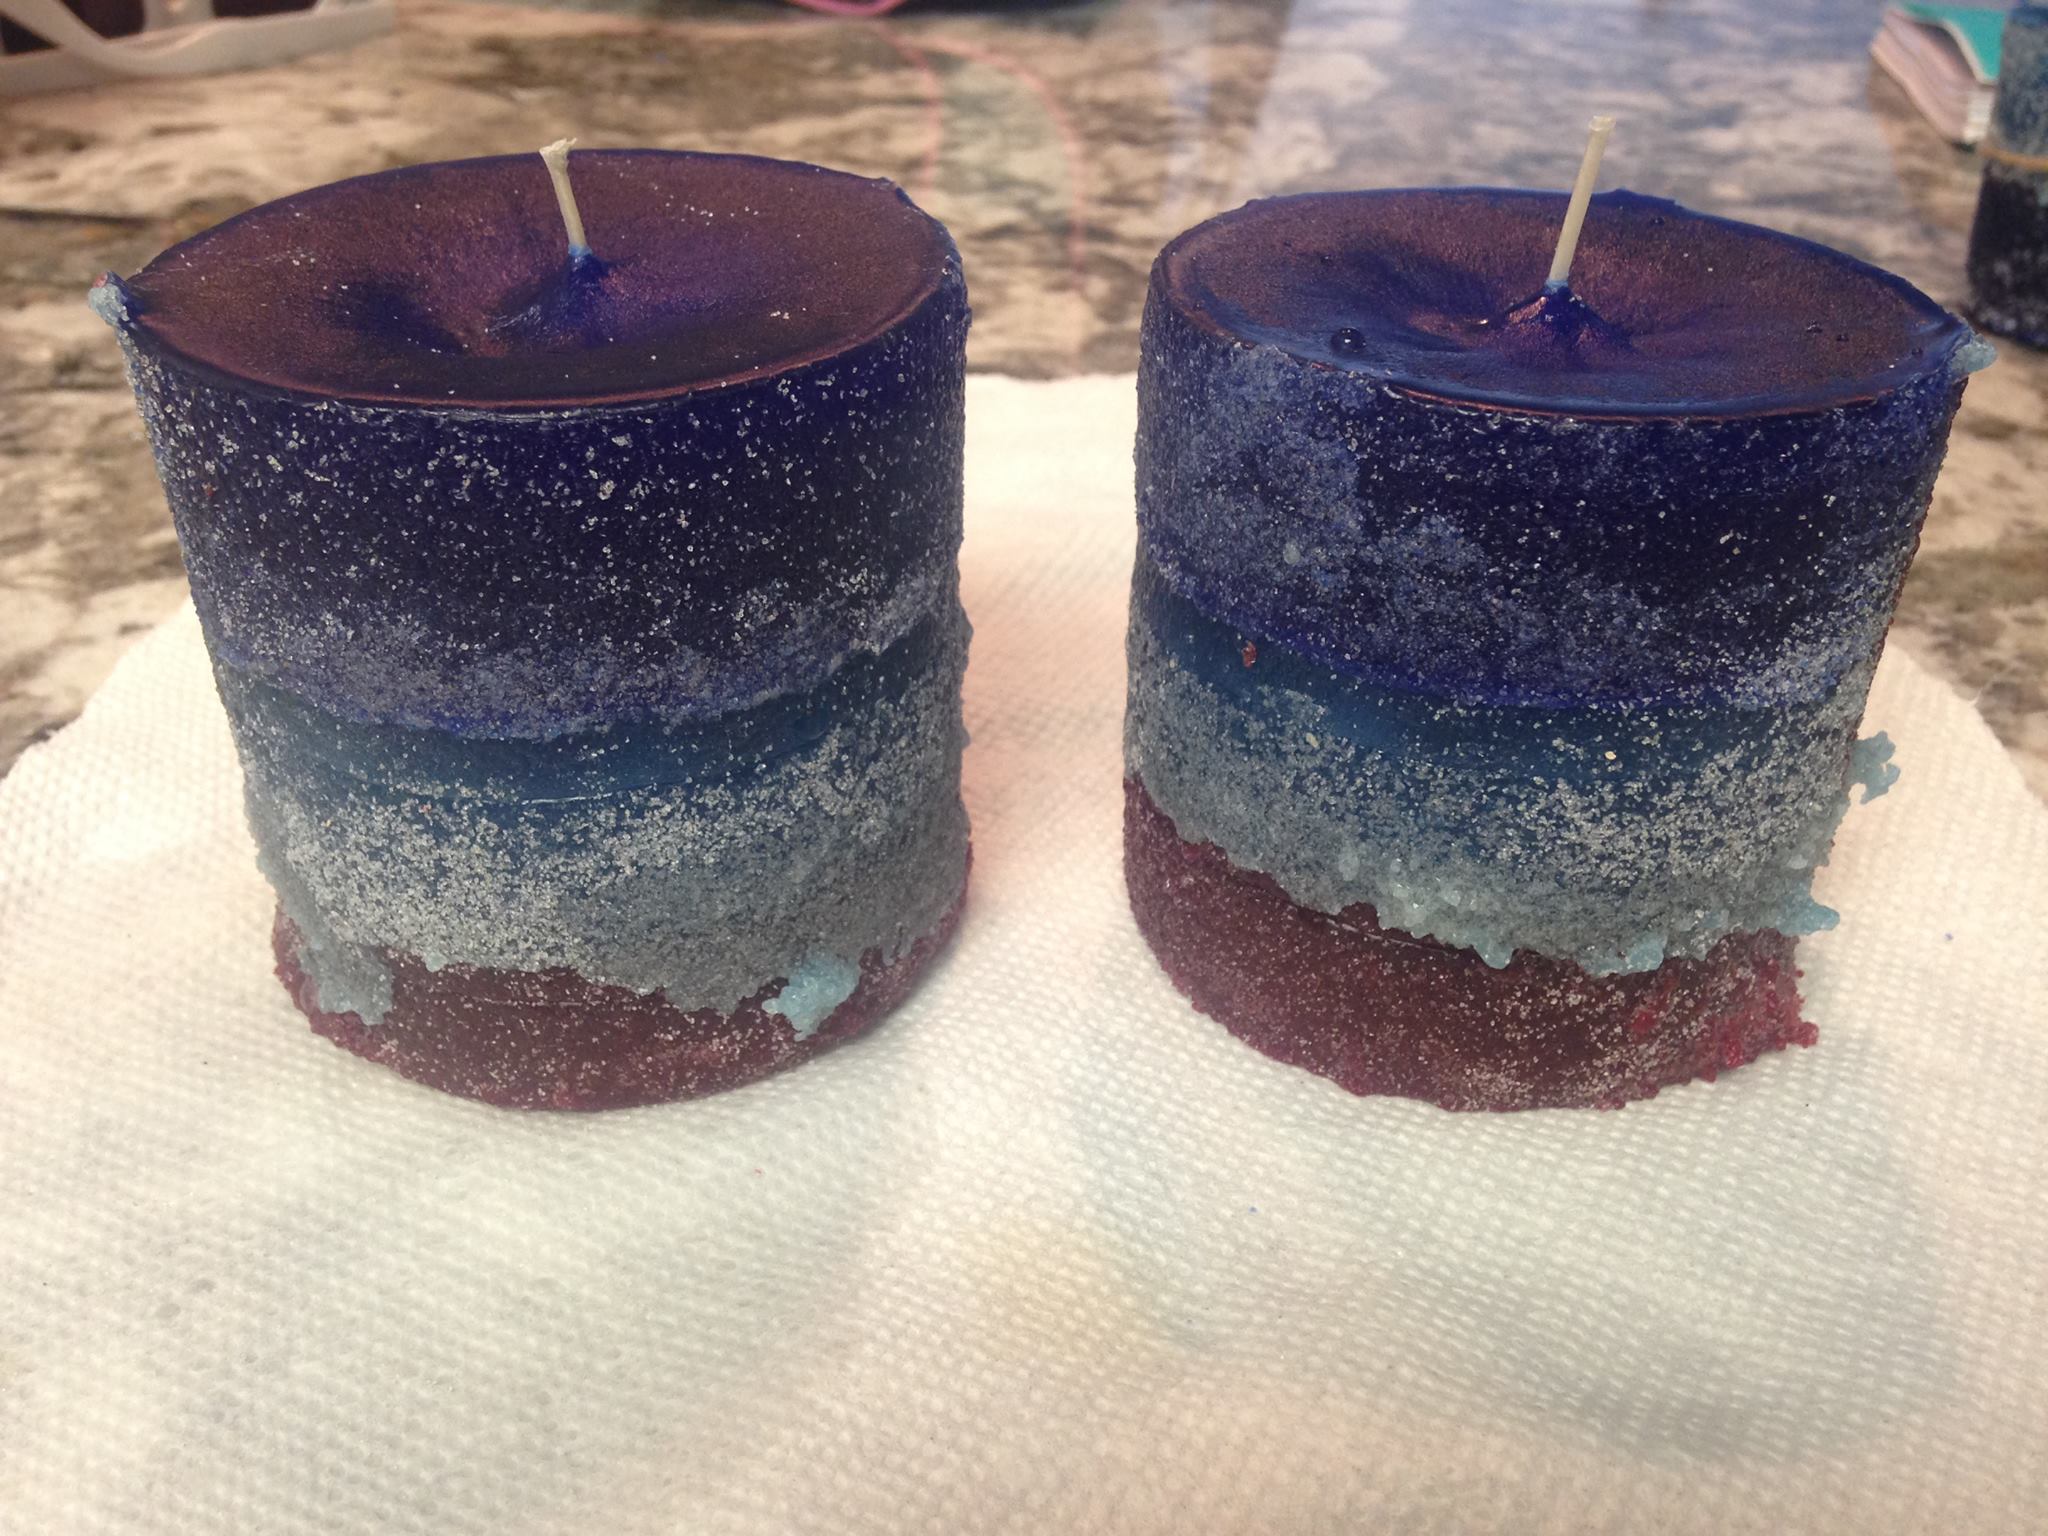
These small pillar candles were molded by using drinking glasses Once again you can see that they have a sandy/crusty look. Note: Make sure your molds are level and have a flat bottom so they will sit properly.
Let cool until the center of the candle feels firm. Depending on the size of the candle but ours took around one hour to cool. Once cooled, carefully dig around the edges until candle can be easily removed. Brush excess sand away and rinse slightly.
I hope this tutorial helps you. Leave a comment if this was helpful. Keep in mind if you choose to make your candles indoors, the sand can take over your kitchen if you are not careful.
Please remember this was our first attempt at making beach candles so be kind in your comments. 🙂
Please share this with your friends on Facebook and Pinterest. Thank you!